FRAMES & TUTORIAL FOR OVERSIZED ART
SHOP THE IKEA BJORKSTA FRAMES
*If a black or aluminum frame isn't working with your space, check out this tutorial. You can also find our favorite frames in all sizes here!
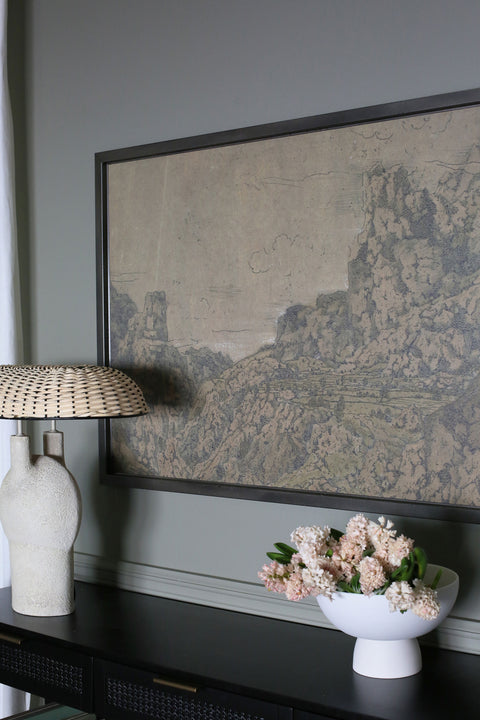
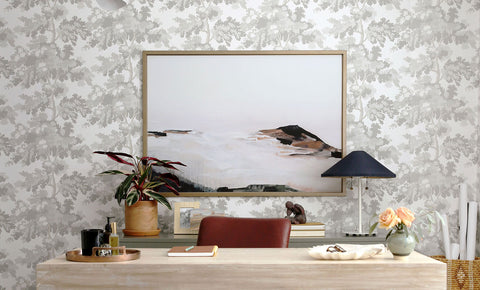
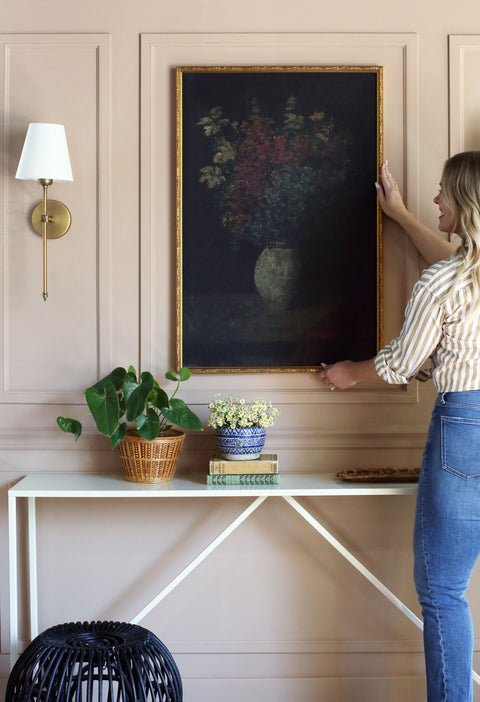
We all love oversized art, but we know how expensive it can be. We wanted to change that and make art accessible for all. We spent months sourcing the perfect paper, and we finally found a UV-resistant, vinyl hybrid with a matte finish that allows the print to perfectly fit into the affordable IKEA Bjorksta Frame! It looks beautiful without glass and is a long-lasting, affordable solution for your oversized art needs. Check out our video tutorial here.
Here are some tips for selecting art depending on your space:
Queen Bed - (3) 16” X 20”; (1) 30” x 20”; (2) 24”x 36”; or (1) 55” X 40”
King Bed - (2) 24” X 36”; (1) 55” X 40”; or (1) 79” X 55” (depending on your ceiling height)
Sofas - (1) 79” X 55”; (1) 55” X 40”; (2) 24” X 36”; or (3) 20” X 30”
Pro Tip: When installing oversized prints in the IKEA Bjorksta Canvas Frame, use painter’s tape on the backside of the print to mark off the area that will be visible in the frame. This allows you to easily double-check your measurements and placement of the print. Also, make sure to watch our IKEA Canvas Frame tutorial below. You’ll also find some great tips on our Instagram account here.
If you need help selecting art for your home, ask Juniper! We offer FREE styling advice and we would love to help you choose an oversized print for your home.
Your oversized print order does not include a frame. You can purchase the IKEA Bjorksta frame through the links above.
SHOP THE IKEA BJORKSTA FRAMES
If a black or aluminum frame isn't working with your space, check out this tutorial. You can also find our favorite frames in all sizes here!
We all love oversized art, but we know how expensive it can be. We wanted to change that and make art accessible for all. We spent months sourcing the perfect paper, and we finally found a UV-resistant, vinyl hybrid with a matte finish that allows the print to perfectly fit into the affordable IKEA Bjokrsta Canvas Frame! It looks beautiful without glass and is a long-lasting, affordable solution for your oversized art needs.
Here are some tips for selecting art depending on your space:
Queen Bed - (3) 16” X 20”; (1) 30” x 20”; (2) 24”x 36”; or (1) 55” X 40”
King Bed - (2) 24” X 36”; (1) 55” X 40”; or (1) 79” X 55” (depending on your ceiling height)
Sofas - (1) 79” X 55”; (1) 55” X 40”; (2) 24” X 36”; or (3) 20” X 30”
Pro Tip: When installing oversized prints in the IKEA Bjokrsta Canvas Frame, use painter’s tape on the backside of the print to mark off the area that will be visible in the frame. This allows you to easily double-check your measurements and placement of the print. Also, make sure to watch our IKEA Canvas Frame tutorial below. You’ll also find some great tips on our Instagram account here.
If you need help selecting art for your home, ask Juniper! We offer FREE styling advice and we would love to help you choose an oversized print for your home.
Your oversized print order does not include a frame. You can purchase the IKEA Bjorksta frame through the links above.
WATCH THE TUTORIAL
Don't let the IKEA instructions intimidate you, this assembly is easy and straight forward:
1. Lay the frame on a flat surface.
2. Slide the metal L-shaped corner brace into the lower channel of each corner and stabilize it with screws and an Allen wrench. Once the edges are lined up, tighten all of the screws.
3. Now, add the art! Lay print face-down and line up the edges (there's about 1/4 in overhang). Starting on a long side, place one plastic clip into the groove of the frame and secure it. Use the provided IKEA tool to create a fold in the paper along the channel and add two more clips.
4. Repeat step 3 on the opposite side of the frame before moving to the shorter sides. As you add the clips, the paper will tighten and become more secure.
Watch our video tutorial for more tips and tricks!
