
IKEA Frames & Tutorial
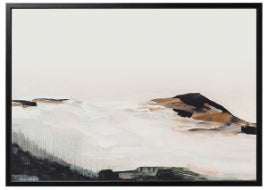
We know framing large art prints can be really expensive. Luckily our paper and canvas prints have been sized to fit in IKEA’s incredibly affordable Bjorksta frame*! The paper and canvas that we use for our prints are each UV resistant and have a matte finish, so they work perfectly with the Bjorksta, which doesn't need glass.
Need assistance putting the IKEA Bjorksta frame together? Check out our video tutorial here. Or, check out our DIY frame for the oversized prints here!
If you need help selecting art for your home, go to preview.juniperprintshop.com on your phone to see how our art looks in your space! And if you’re still not sure, we’re happy to help! Feel free to email us (with photos, please!) at ask@juniperprintshop.com.
*IKEA has discontinued their Bjorksta frame, though some stores still have limited availability, which you can check through the links below.
22x55: Black | Aluminum
31x47: Black | Aluminum
40x55: Black | Aluminum
55x79: Black
SHOP THE IKEA BJORKSTA FRAMES


Open your frame box and lay out your peices. It can be helpful to have a friend for installing the art, but not necessary! Make sure you have a clean, flat space to work.
Slide the metal L-shaped corner brace into the lower channel of each corner. Place and lightly tighten the screws using the provided allen wrench. Once the corners are all connected, give all the screws a final tightening, keeping an eye out for gaps in the miter corners.
(This is a great time to spray paint the frame if you'd like! Here's a tutorial.)
This is a great time to grab a friend! Lay your print face-down and line up the edges (there's about ¼” overhang). Starting on a long side, begin clipping the print into place by placing one plastic clip into the inside groove of the frame and pressing the clip down until it sits firmly inside the frame channel against the paper.
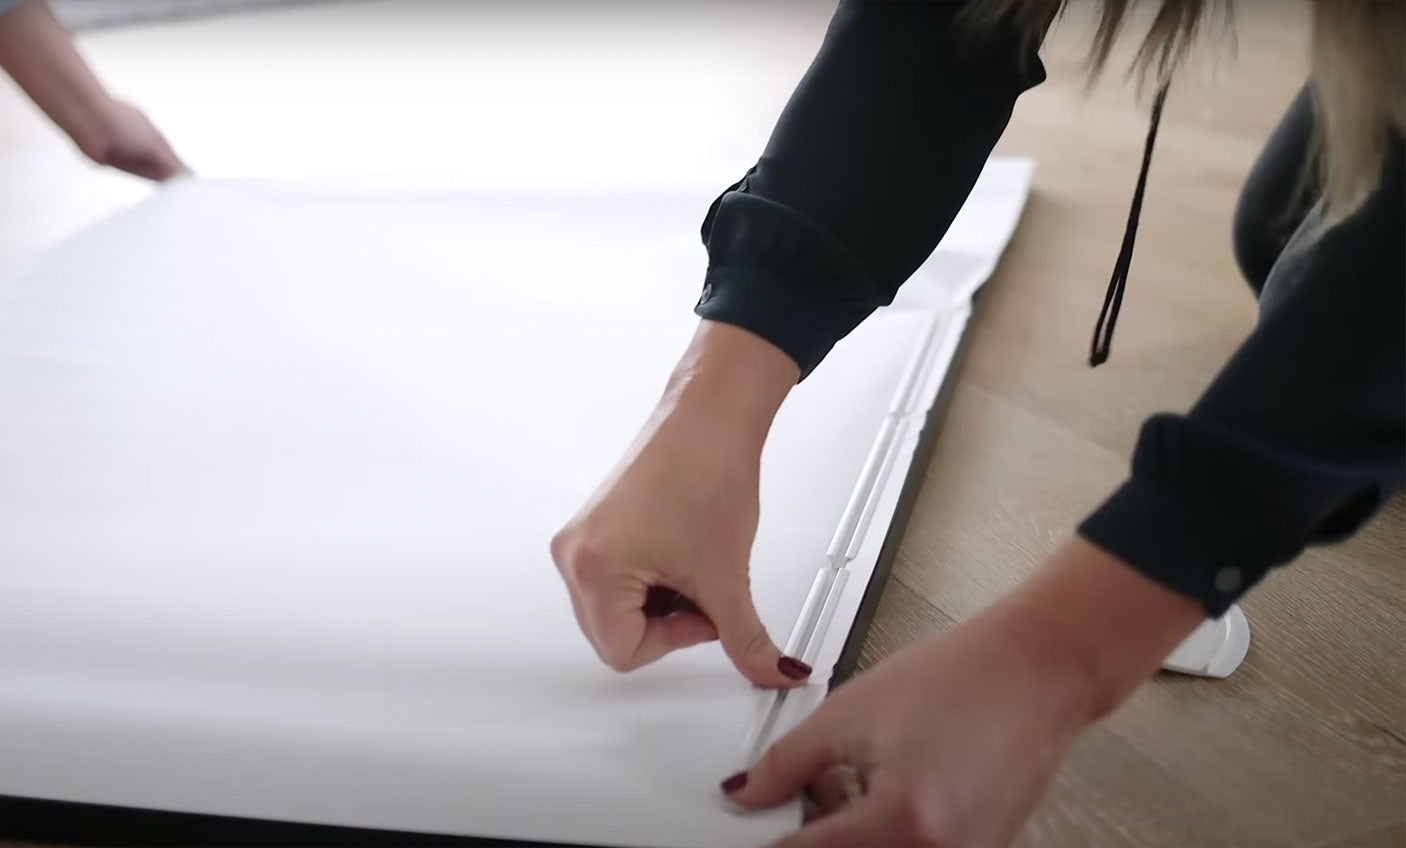
We have found occasionally the IKEA frame channels come a little wider than usual. If you are having trouble getting the clips to stay put and properly secure the print, place long strips of 1-2” wide painter’s tape along the backside borders of the print before installing the clips. That should easily do the trick!
With the provided white creasing tool, slightly dent the paper in to the channel and continue adding clips. Repeat on the opposite side and then move to the shorter sides.
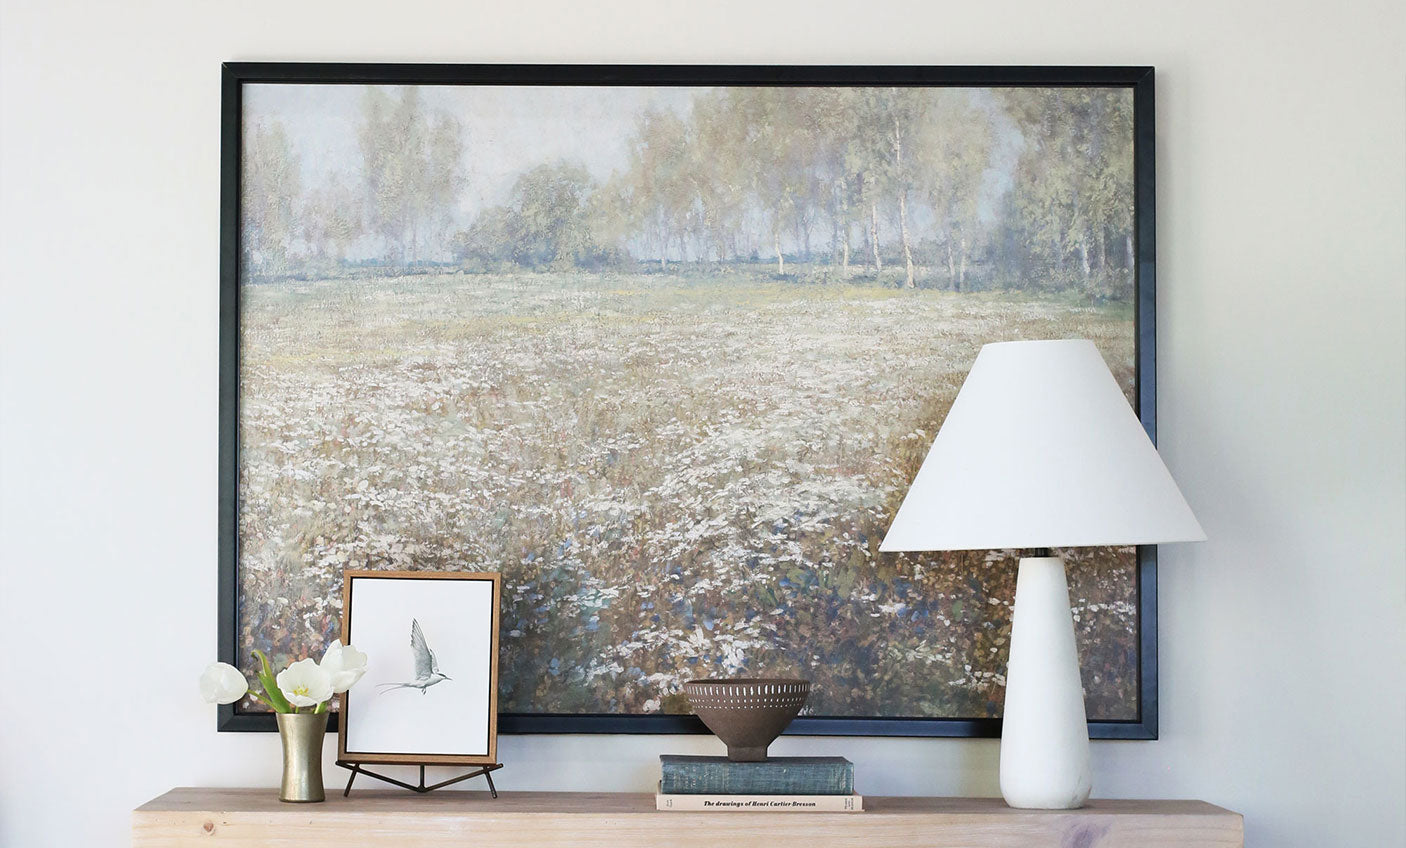
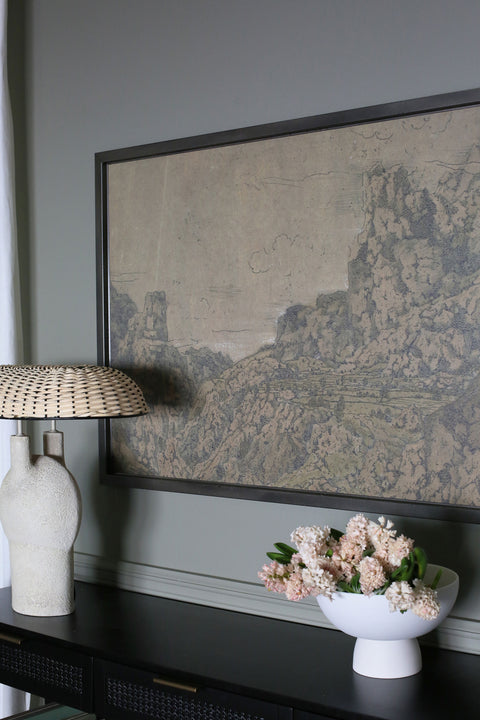
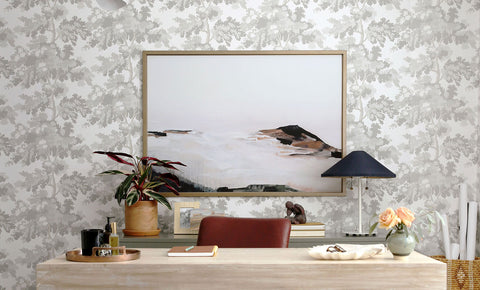
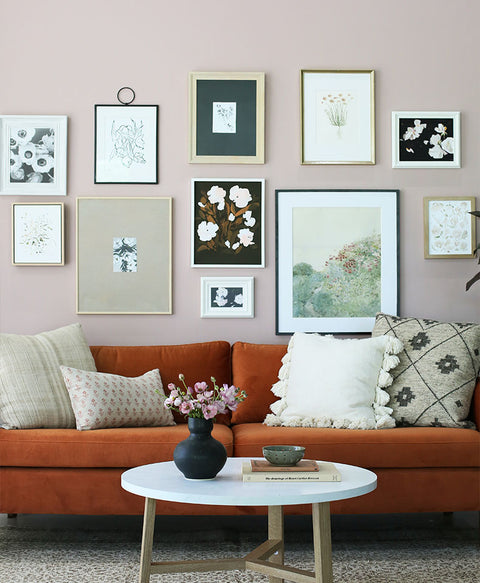
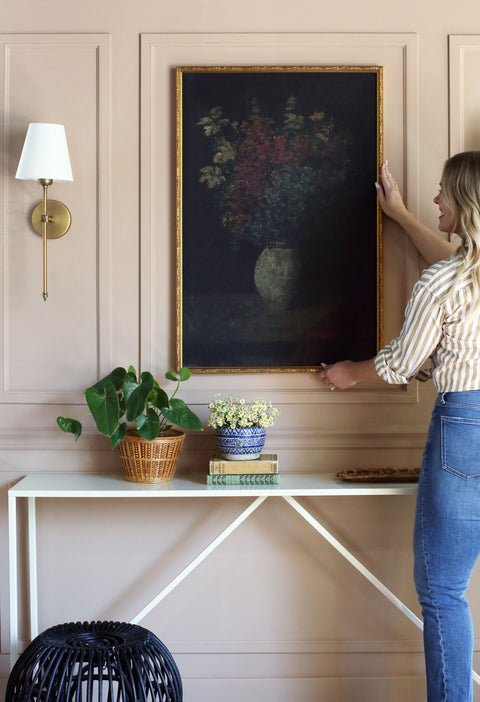
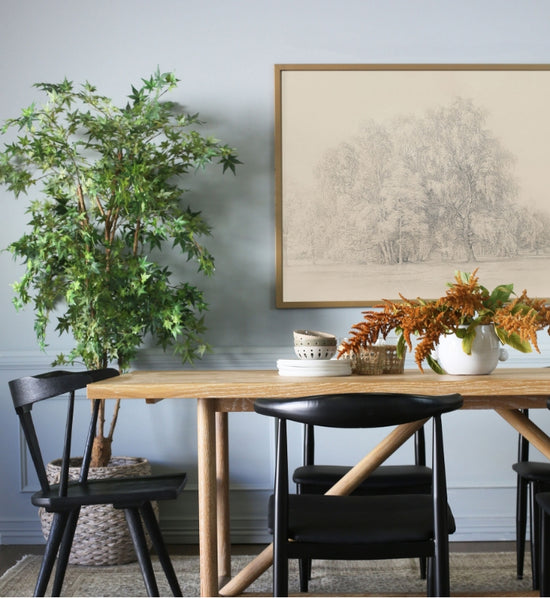
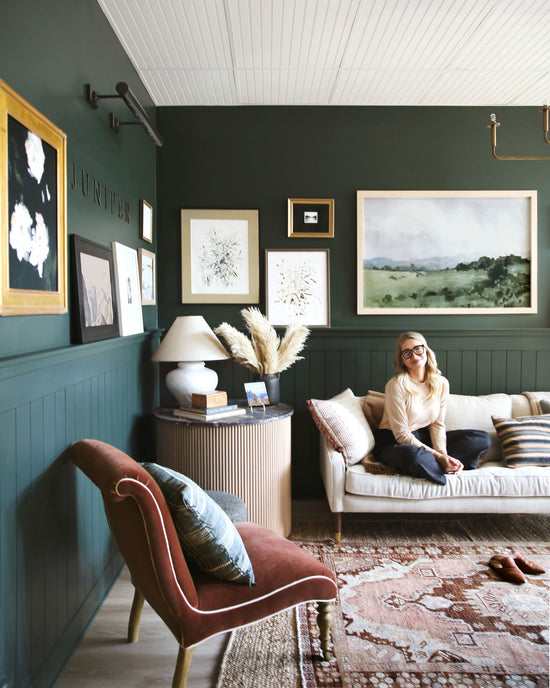
Time for that magic moment! Hang the framed print on your wall and admire your work. We love the impact oversized art can have in a space.
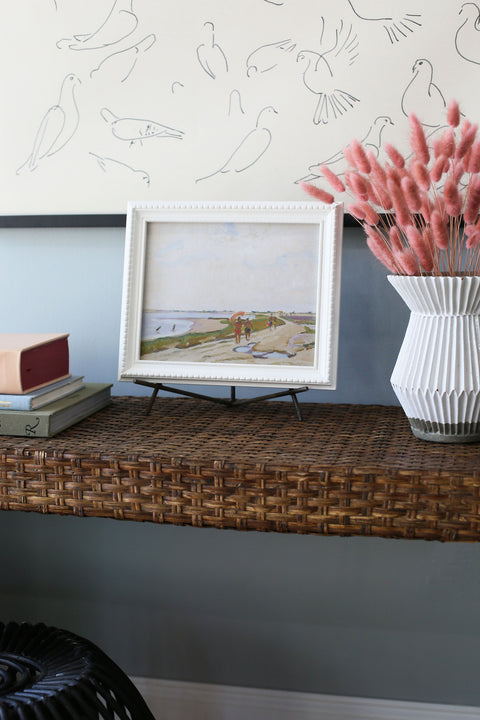
We love to see our art in your spaces! Tag and follow us @juniperprintshop.
OVERSIZED ART IN THE WILD / #MYJUNIPER
Need more help? We’ve got you!
We've created some resources to help you as you design your perfect space. If you have more questions, check out our FAQs, or shoot us an email at ask@juniperprintshop.com
-
Feeling stuck? Try Print Preview!
Try Print PreviewUpload a photo of your space (or use one of ours) to see art to scale in your home.
-
Customize Your Oversized Frame
Read MoreWe've rounded up our favorite spray paints and an easy to follow guide to help you customize your oversized IKEA Bjorksta frame.
-
DIY Wood Frame for Oversized Prints
Step-By-Step TutorialIf the metal IKEA frame is the right fit, try this tutorial from Jenny!


