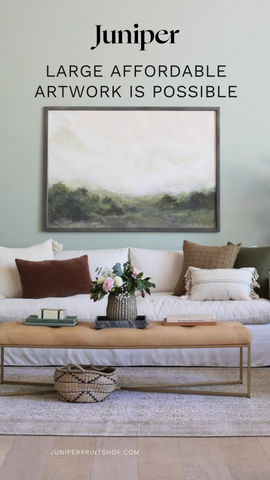
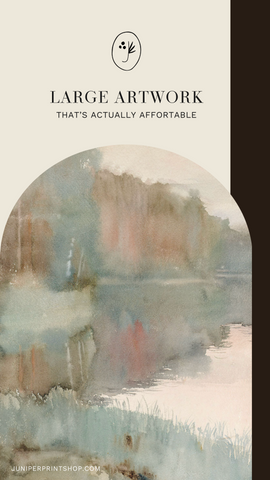
Looking for large, beautiful art without breaking the bank? We’ve got you covered!. Our goal at Juniper has always been to provide timeless art that fits every budget. Follow our 3 simple steps for filling the empty walls in your home!
#1 Find a Piece of Art You Love
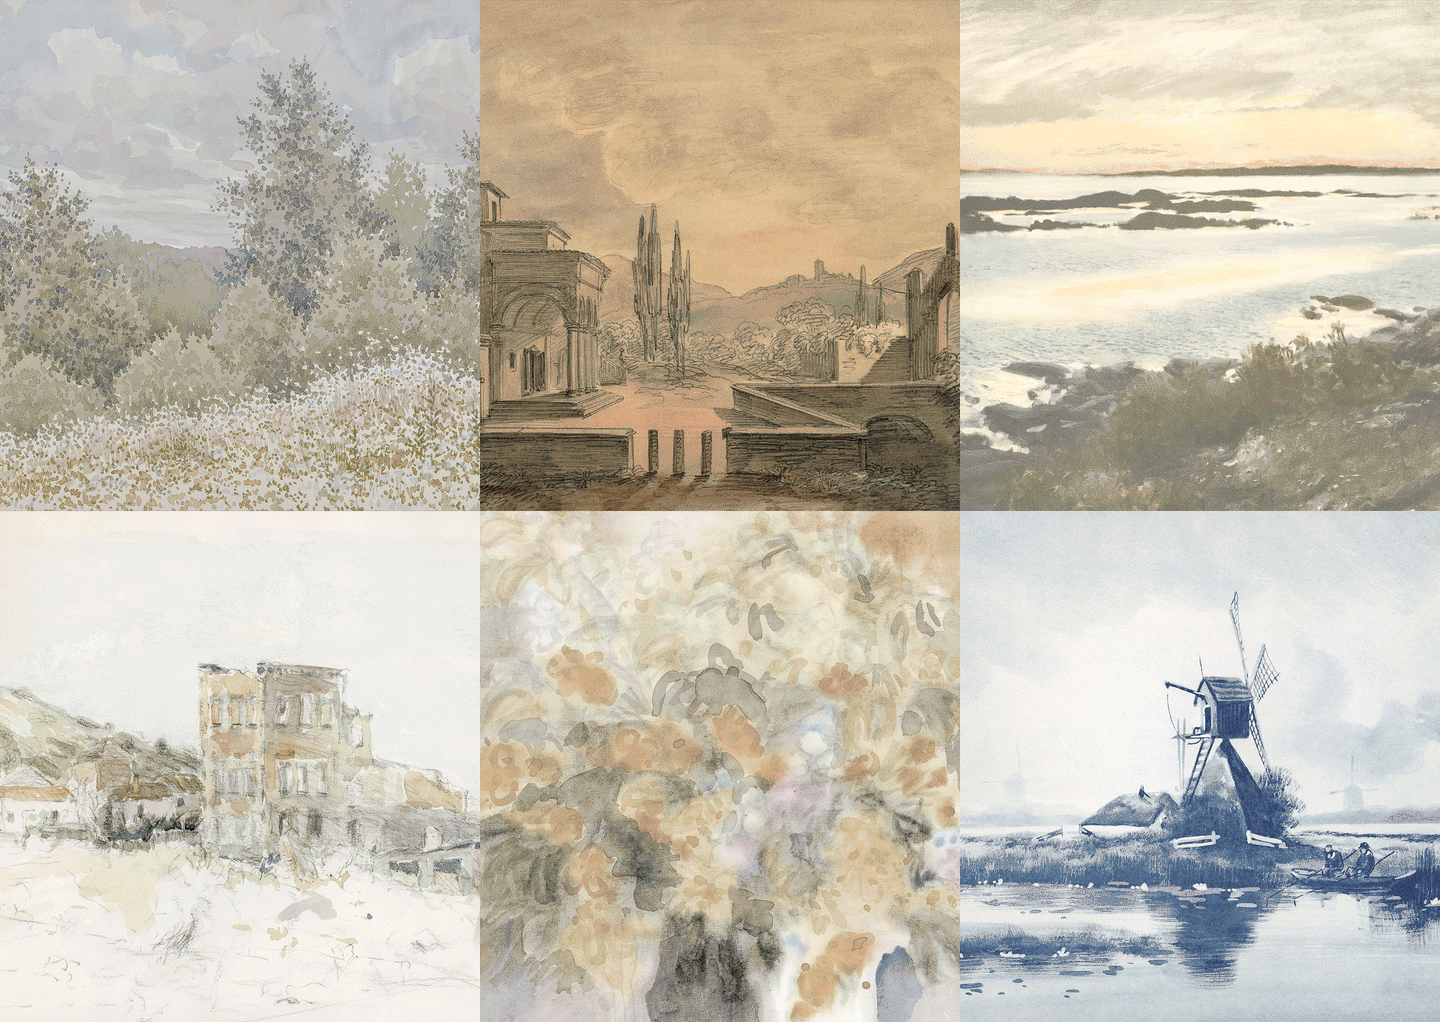
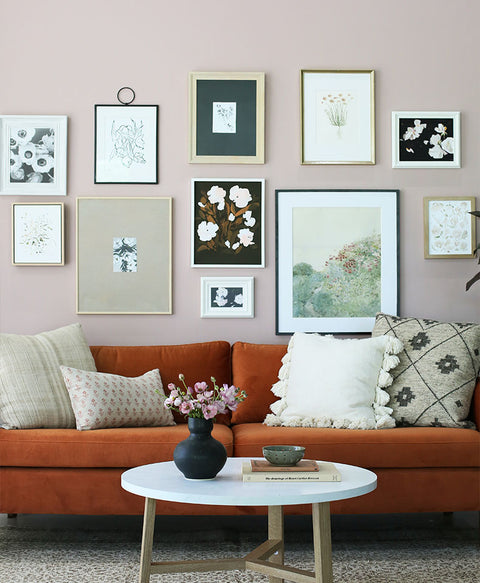
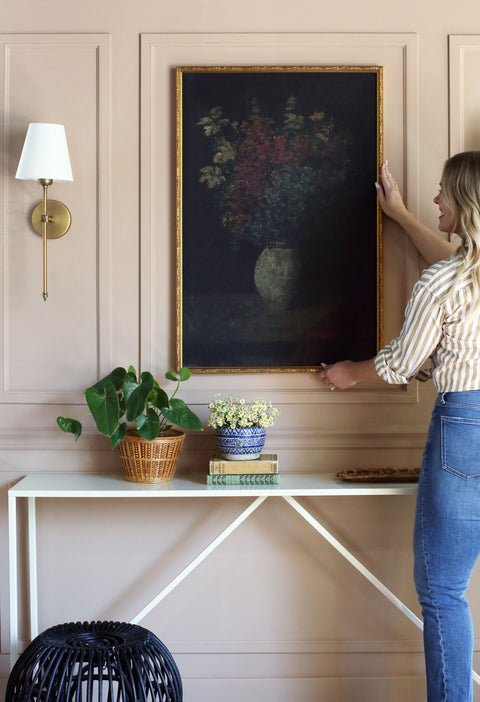
The first step to filling your home with affordable art is finding prints that you really LOVE. Finding art that speaks to you will make your house feel more personal and collected.. There is so much noise in the design industry, so instead of trying to mimic somebody else’s style or recreating a room you saw in a catalog, try to find pieces that feel like YOU. If it’s a print that you love, you’ll be more inspired to design around that piece, and keep it for years to come.
Shopping for large art can get expensive quickly. Whether it’s the print itself, or the cost of the frame–it adds up fast. We have spent years curating our print collection to cater to every style and budget, without sacrificing quality.
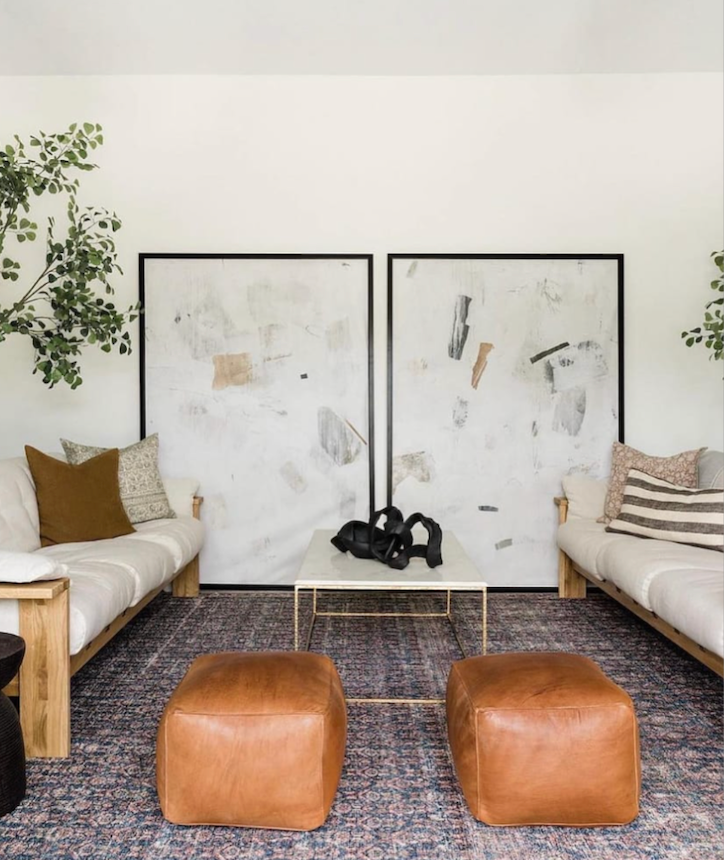
How to Pick Out a Piece to Match Your Home
Once you have a space in mind for your new print, you get to decide what style fits best within your home. With so many options available, it can feel impossible to choose. Luckily, we have an easy solution. Introducing, Print Preview!
With Print Preview, you can use your mobile phone to visualize any print in your home.

It takes the guesswork out of ordering art for your home! No need to wonder if you’ve made the right choice or if the artwork you loved online will actually look good on your walls.
Now that you’ve decided on a print (or two, or three) that you love, let’s talk about your different framing options.
#2 Use the IKEA Björksta frame

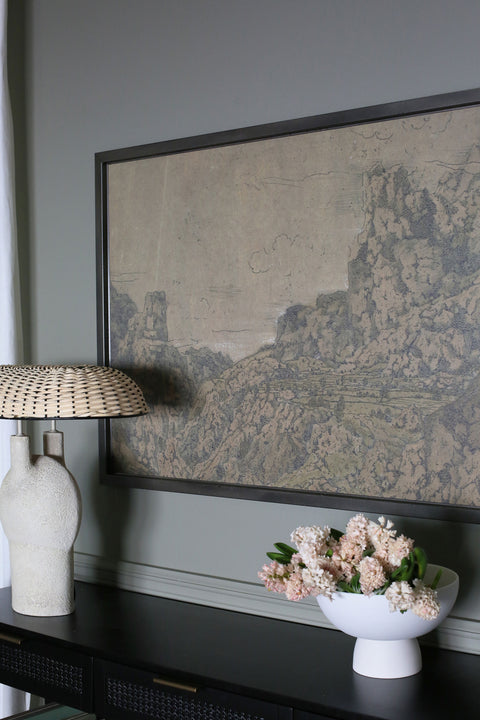
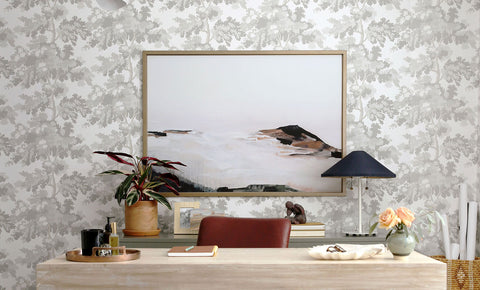
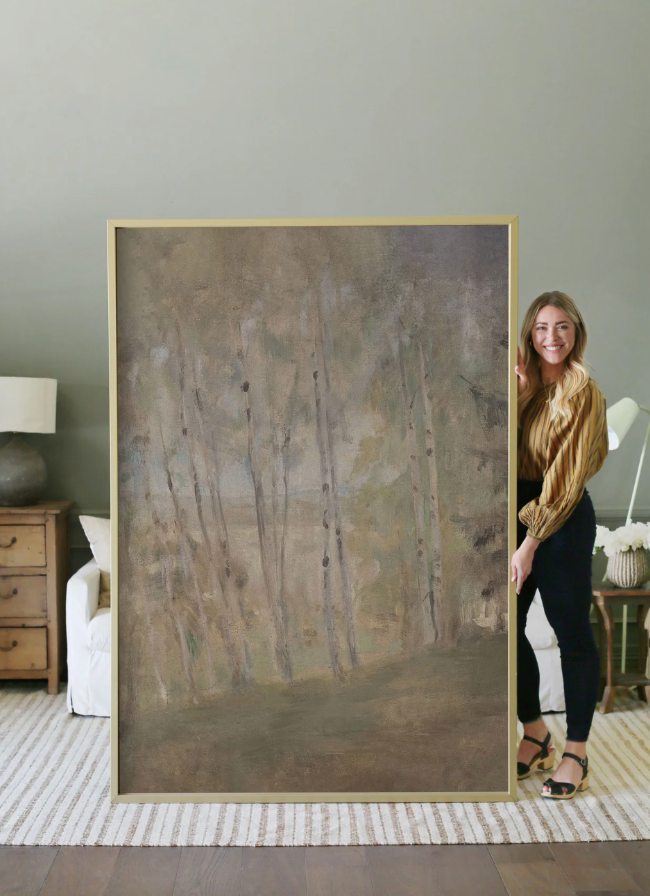
Adding a frame to your print is important, and will make a big impact on the finished look of the piece. We offer custom frames for all of our prints up to our 30x40 size, but for our oversized prints, we recommend using the Björksta frame from IKEA. This large frame is well-priced, easy to use, and super customizable to fit your style.
The IKEA Bj örksta frame comes in two colors: Aluminum or Black. We use the black frame a lot, but we also love spray painting the Björksta frame to customize it even more for your space. Check out this blog post for all of our favorite spray paint colors and a step-by-step tutorial. 
After you’ve decided on the right finish for you, it’s time to install!
#3 Assembling and Hanging Your Print!
Now that you have found the right print for your home and chosen a frame that you love, it’s time to bring your vision to life!
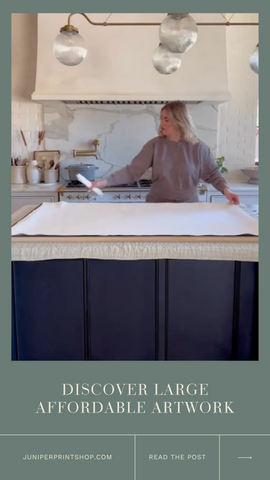
Before you can hang your print, you’ll need to install it in the IKEA frame. Even though it sounds intimidating, there’s nothing to be scared of! This process only takes about 10 to 15 minutes, and when you’re finished you’ll be ready to hang your new work of art!

To install the print, simply spread a large sheet out on your counter or floor. (This will protect your new print, and the frame.) Next, put the frame face down on top of the sheet, and lay the print on top of it. Using the plastic clips provided by IKEA, push the edges of the print down into the frame, starting with the two shortest sides. Pull the print as tight as you can to avoid any wrinkles. Move on to the two longer sides, repeating the same steps. You may have to adjust and pull several of the clips tighter as you finish, especially in the corners. Finally, your print is ready to hang! If you’re more of a visual person, you can watch as we put one of our prints into the IKEA frame here. We are always available to answer any questions or issues you might run across.
Make A Statement: Large Art That’s Affordable
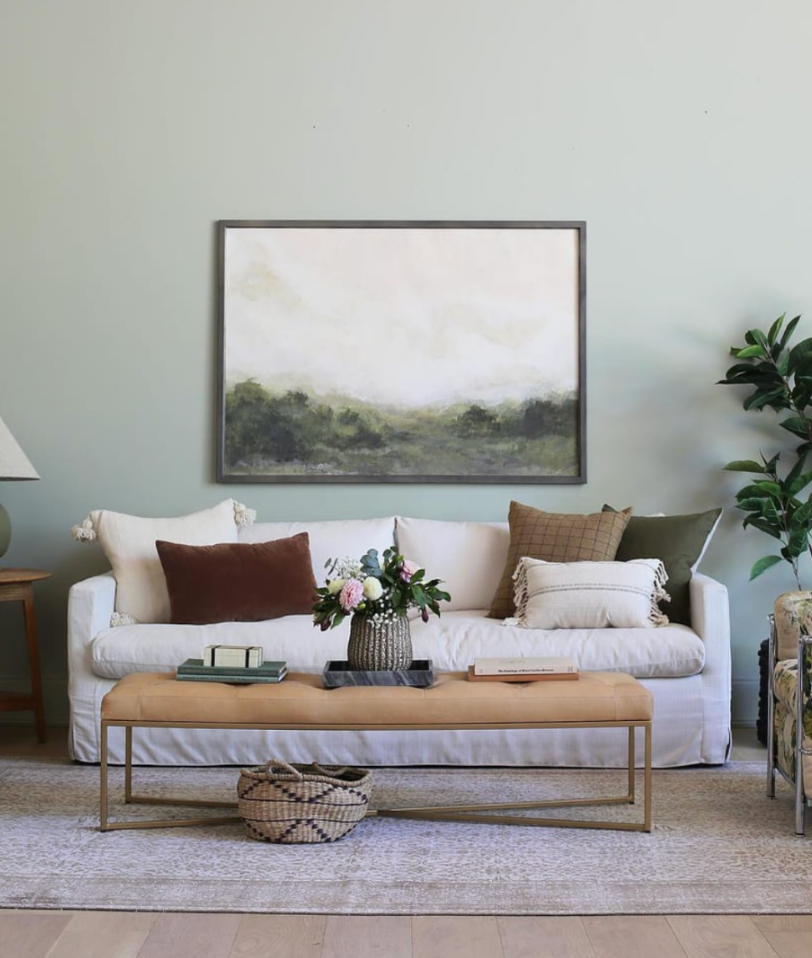
Filling your walls with large art doesn’t have to be crazy expensive. With our three steps to finding a print that you love, you’ll be able to transform any space in your home!
If you’re still not sure what style of art resonates with you, make sure to follow us on Instagram. We are always showing new pieces, the best styles, and more.
We have so many beautiful prints and we’re always adding more! You can shop our prints here.
