

Hanging art in your home can feel like a daunting task, but with the right tools and a few easy tips, it can become an easy project that anyone can tackle.
Where to hang your art:
When hanging art on an empty wall with no furniture underneath, the center of the frame should be at eye level, roughly 60 inches off the ground. Because we’re measuring 60 inches from the center of the art, not the top or bottom, this tip works great with any frame size!
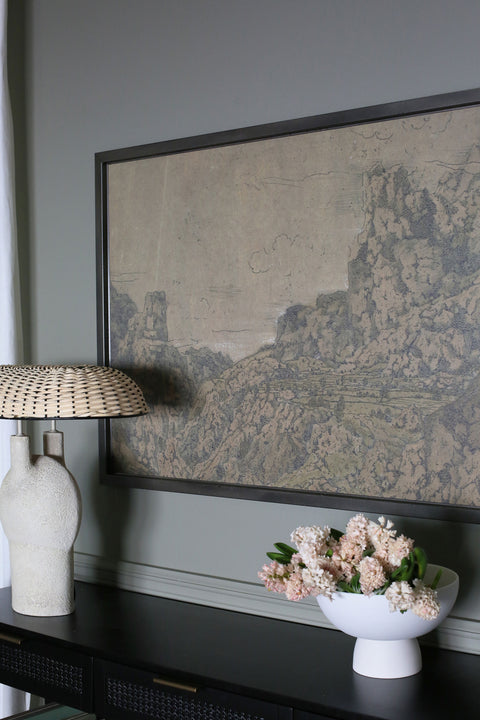
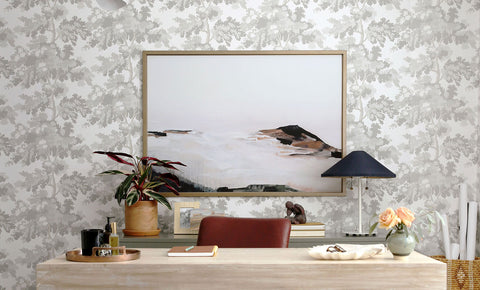
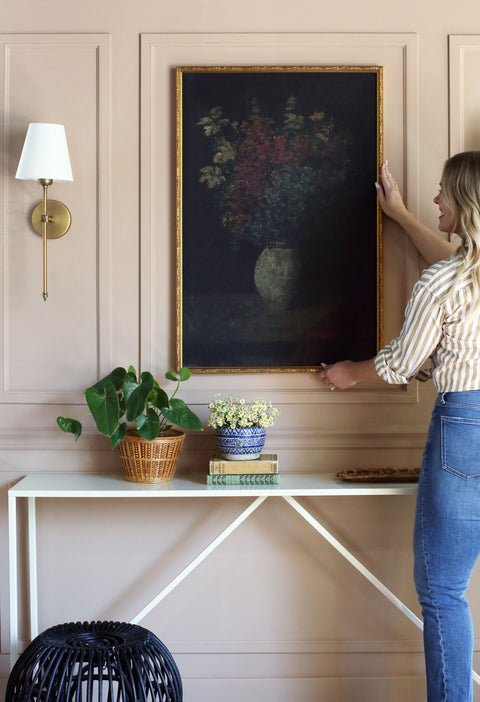
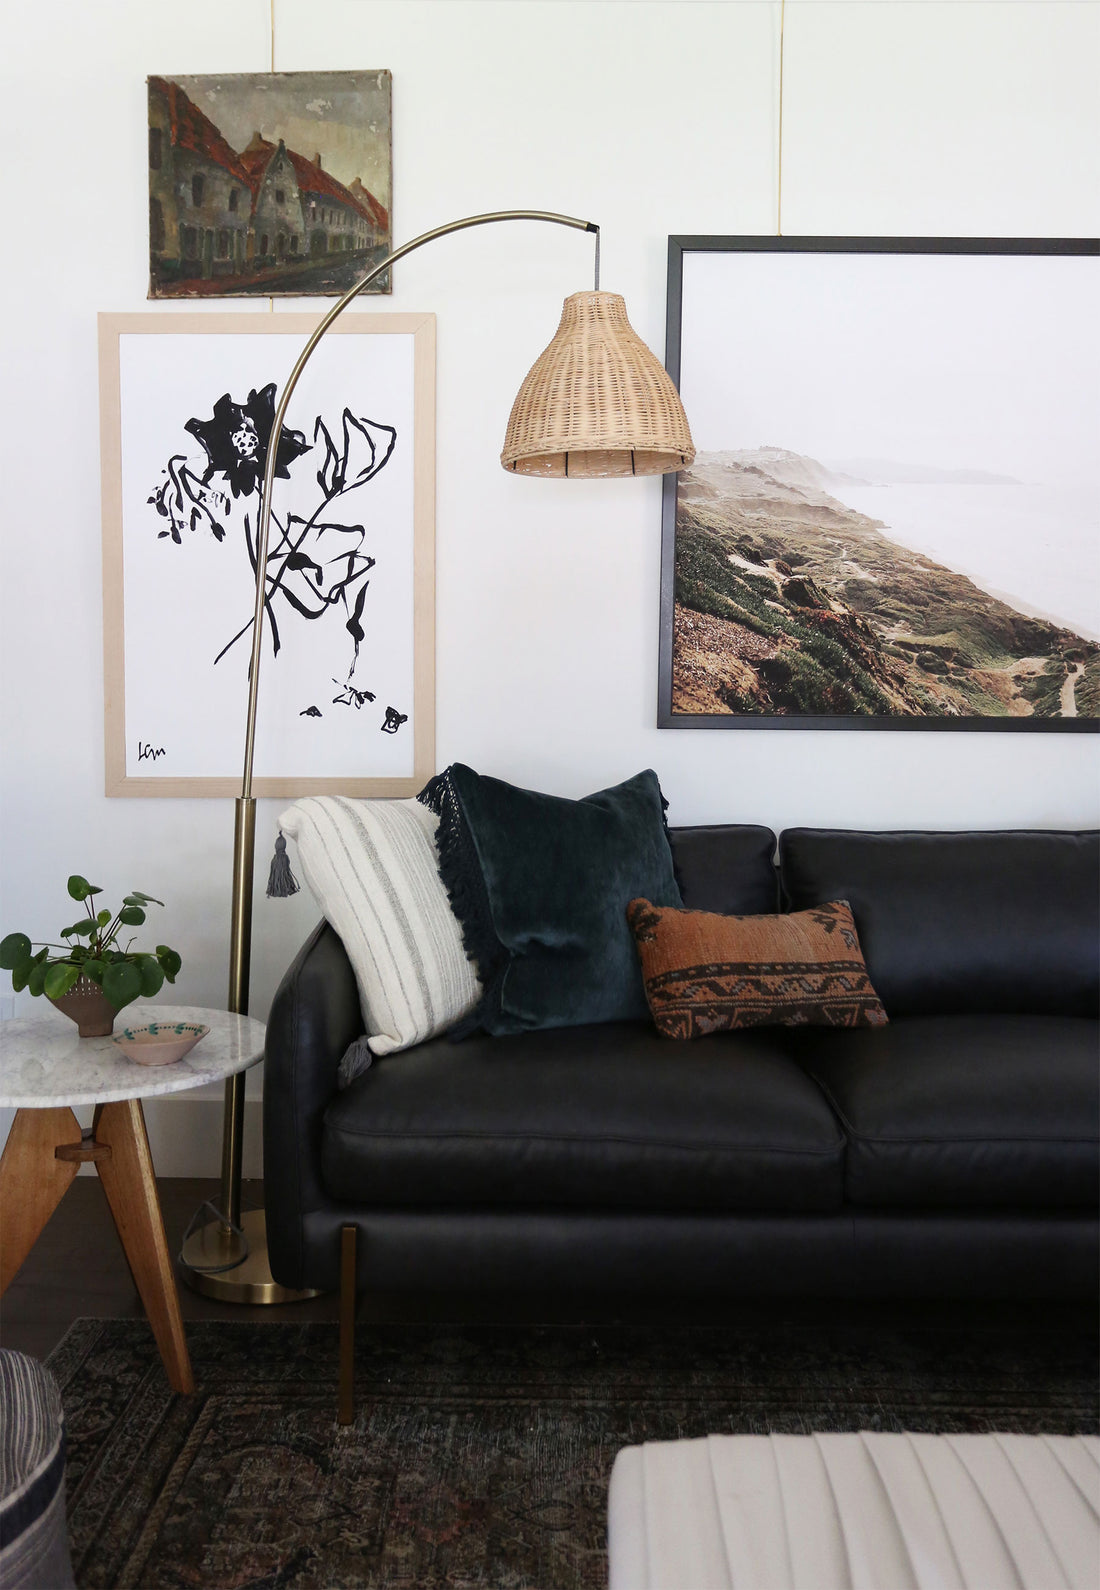
When hanging art over a sofa or console, there’s a little bit more variability in height. Typically the bottom of your frame will sit 4-8 inches from the top of the furniture piece. The size of the art, height of your ceilings, and height of the furniture will all influence this distance.
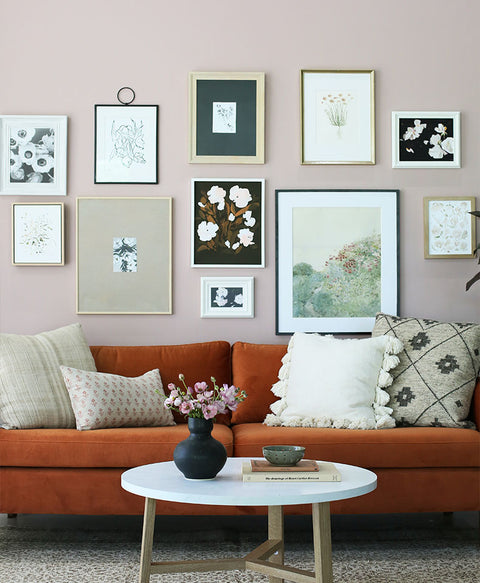
When hanging multiple frames next to each other, aim to place them 2-3” apart.

When in doubt, tape it out!
If you’re nervous about putting a hole in your wall, measure the size of your frame and tape it out on your wall so you know exactly what the scale will look like before you bring out the tools. If you do end up with a few extra holes in your wall, just know it’s not the end of the world! This drywall repair putty is the BEST and so easy to use.

How to hang your art:
Once you’ve decided on your wall placement, check to see what kind of hardware is included with your frame. You’ll likely see a sawtooth hanger, picture wire, or d-rings. Each of these require a slightly different approach to hang.
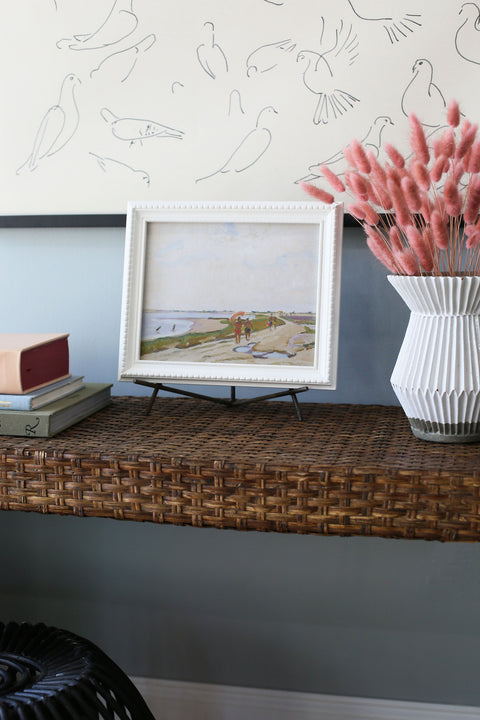
When hanging a frame with one sawtooth hanger (like our smaller custom frames) you’ll want to measure the distance from the hanger to the top of the frame so you know exactly where to place your nail on the wall. One nail is usually enough (make sure you’re using the right size of nail to hold the weight of the frame), and we always recommend using either felt or rubber pads on the bottom corners of the frame to ensure it stays level.
A frame that comes with picture wire (like our larger custom frames) is easiest to hang using a picture hanging hook instead of a nail. This just ensures the wire doesn’t slip off. You’ll want to pull the wire as tight as you can upwards, and then measure the distance from the highest point of the wire to the top of the frame. Nail your picture hanging hook in the corresponding place on the wall, and you’re ready to put up your art! Don’t forget your felt or rubber pads on the bottom corners of the frame to keep it in place!

Hanging a frame with d-rings, or multiple sawtooth hangers is arguably the hardest, but Jenny has a tried and true trick that never fails us! You may have seen her painters tape trick on Instagram, or when she installed this gallery wall. Essentially you just stretch a piece of painters tape across the hanging hardware so it’s the exact width of the frame. Next, take a nail and make holes through the tape where the hanging mechanisms are. Make sure you measure the distance from the hangers to the top of the frame so you know how low place your tape on the wall. Use a level to hang your tape up (if you’re looking for something you’ll use over and over we love this laser level!), and then hammer your nails through the holes in the tape. When you remove the tape, you’ll have nails placed the perfect distance apart to hang your frame!
Remember that these guidelines aren’t a “one size fits all”, and hanging art in an unusual place can be such a fun way to draw attention to the piece, or bring interest to your space! The art you choose to hang in your home should be a reflection of you, and so should where you choose to hang it!

OUR FAVORITE HANGING PRODUCTS
Picture Hanging Kit - Laser Level - Manual Level Set - Painters Tape - Hammer Drywall Repair Putty - Command Strips - Felt Pads - Rubber Pads