

Now that you’ve selected a beautiful Juniper print, you want the framing to do it justice- we get it!! If you’ve opted to purchase a print unframed, we have a tried and true process for framing your prints at home! If you're looking for tips on how to frame one of our IKEA sized prints, check out this post instead!
(Psst… if you’re still trying to choose a frame style, you can find all of our best tips here!)

Depending on the substrate of your print and the size of your frame, you may want to trim the edges of the print. All of our standard size canvas prints come with a 1” border in case you want to have your print stretched, but for any regular frame you can cut that border off. A really sharp paper cutter works great for trimming our paper, but a pair of nice sharp scissors, or a sharp razor blade and a metal ruler work best for canvas. The edges of the print are usually hidden by the frame, so if it isn’t perfectly straight, don’t stress!
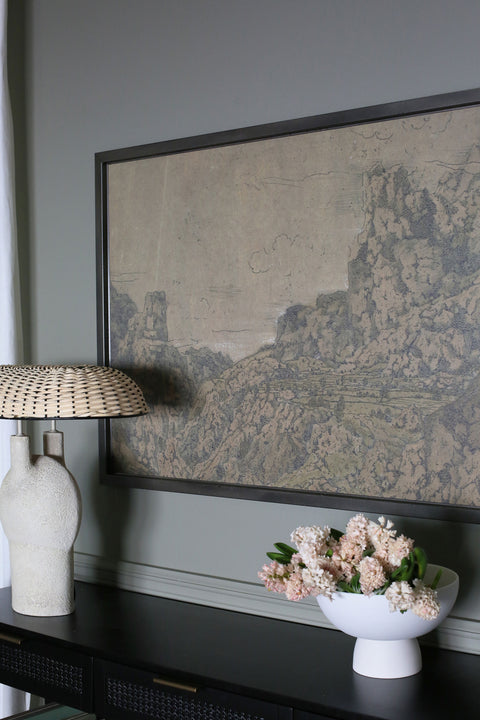
First, you’ll want to take the backing off of your frame. At this point, we like to remove the glass, too. Our paper and canvas have a really pretty matte finish, and our preference is framing them without glass, which makes it easier to see the details of the art.

If you’re using a mat, we recommend taping the print to the back of the mat using masking tape so it will stay in place. Just center the print over the cut out of the mat, and place a small piece of tape on all four sides, lengthwise.
If you’re not using a mat, take some double sided tape or mounting squares and attach the print to the frame backing. This will keep the print in place even after it is hung- but make sure you don’t use permanent mounting squares, it will make it much harder to swap out prints in the future!

If your print still isn’t sitting flush in the frame and you’re seeing bubbling or waves, try trimming the edges of the print a little more- chances are it’s just a little too big for your specific frame!
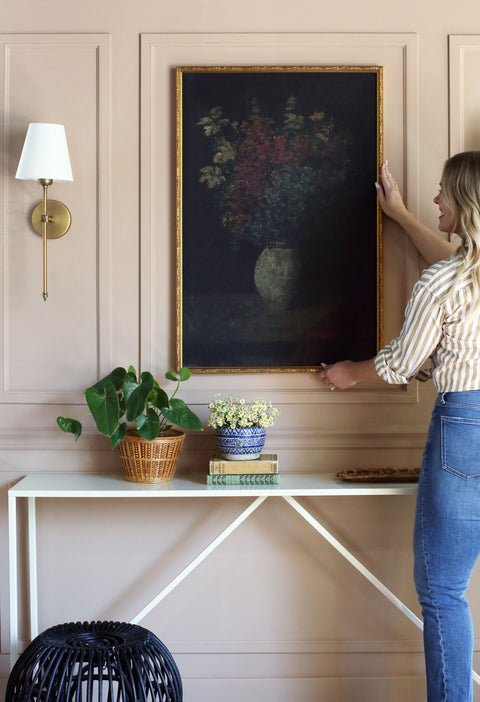
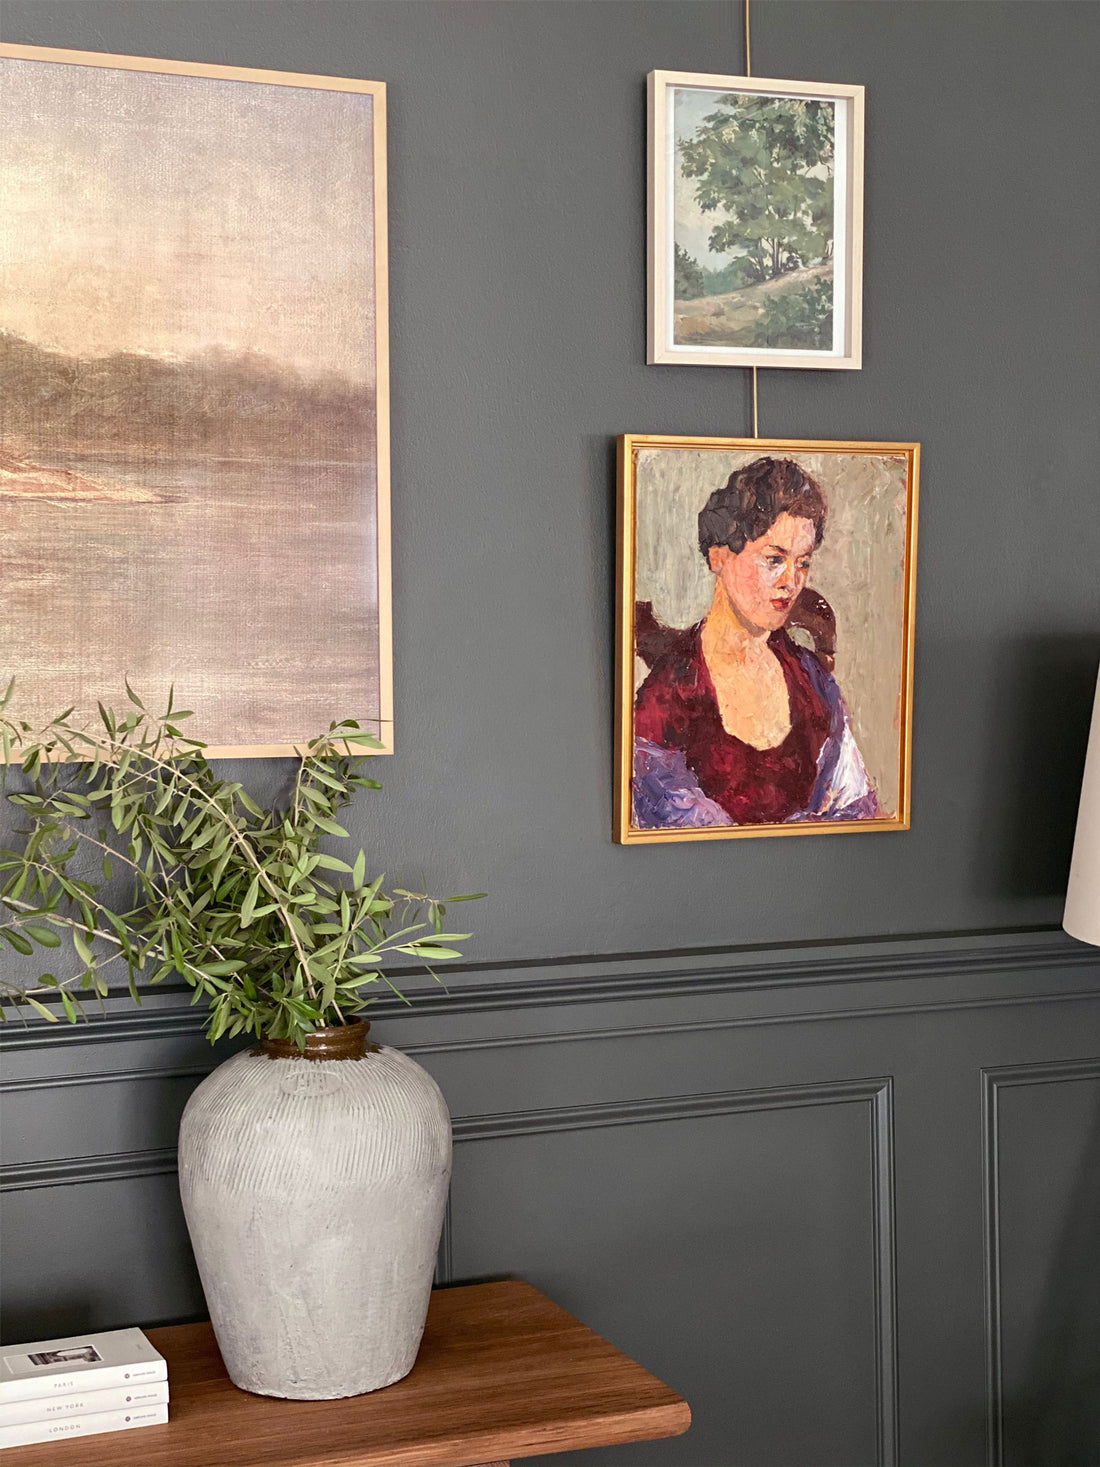
Just a few easy steps, et voila! You’ll have a beautifully framed print, ready to hang! Check out all of our best hanging tips here!

1. Craft Scissors / 2. Paper Cutter / 3. Masking Tape / 4. Removable Double Sided Tape /
5. Removable Mounting Squares / 6. Metal Straight Edge Ruler