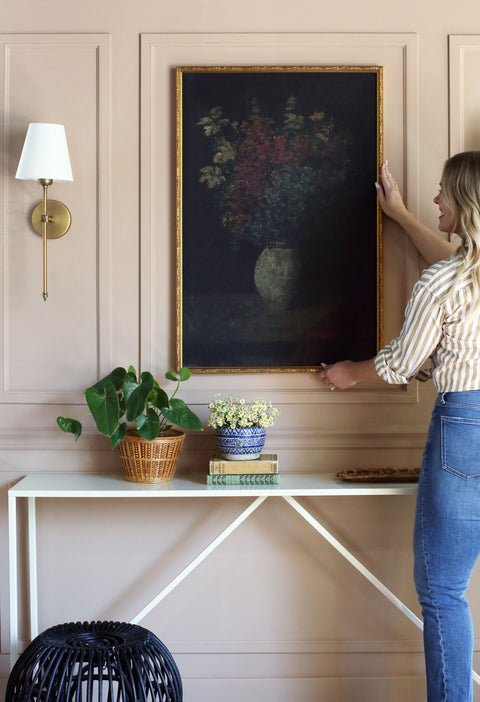


STEP 1: GET INSPIRED
When you’re ready to get started with a gallery wall, it can be really helpful to look on our Pinterest page or Instagram feed and find a few images of gallery walls that inspire you. Take note of how many frames are in the arrangement. Seven frames? Or more like 25 frames? Does the arrangement go floor to ceiling or is it mostly at eye level? Is the arrangement dipping down and asymmetrical? Or is it centered and level? Do you like a lot of smaller prints or less prints that are larger? It’s a good idea to figure out both what you’re drawn to and then to get realistic about how you can make that work in your own space.

STEP 2: TAPE IT OUT
There are lots of methods to help you figure out the right arrangement for your gallery wall. We have found after many years of hanging gallery walls in our design projects that the floor method is the fastest and easiest! Determine the maximum height and width of your arrangement. Use painters tape and a tape measure to create a rectangle on your floor the same size as the wall space you’re working with.

STEP 3: ARRANGE BY FRAME FIRST, NOT ART
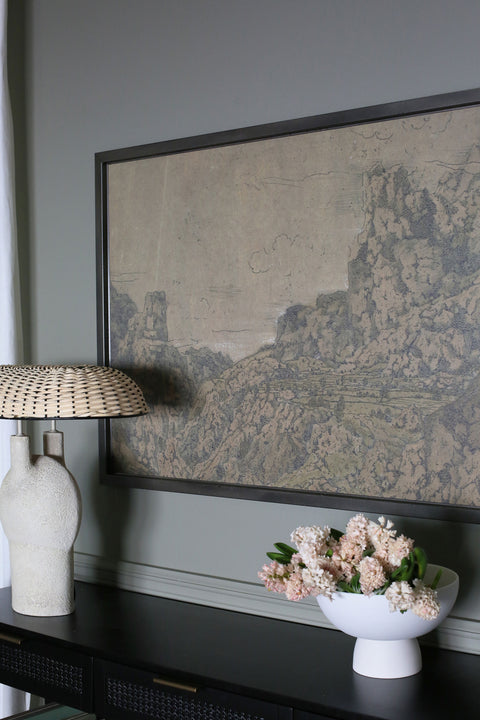
Most people try to arrange their gallery wall by the art inside the frame first. While the art inside the frame is obviously very important, the frame and mat holding the art is also critical to the overall look! Gather up all your frames and art and start to decide what you want to use and where. (If some of your pieces are custom framed or antique, you’ll obviously want to keep them in the same frame, but all of our prints work in so many different frames! Try to remember that this first arranging exercise is all about the frame!)
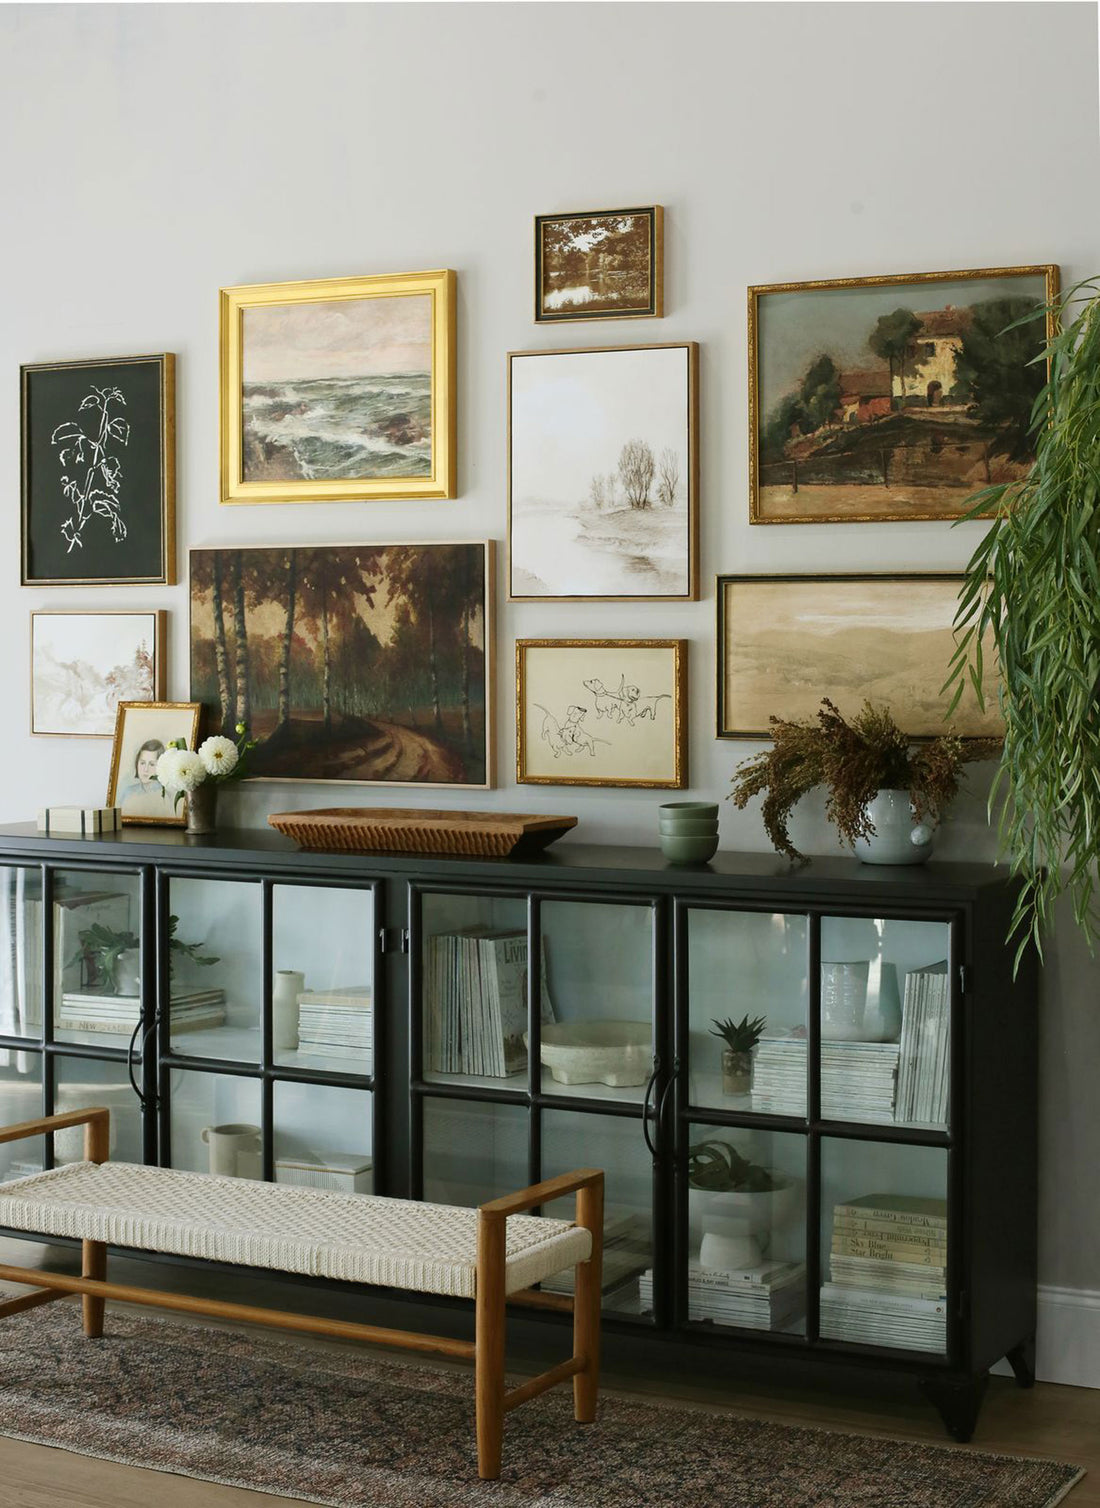
If you need some additional options, check out some of Jenny’s curated Finds, Michaels, Hobby Lobby, Target, and our very favorite option- your local thrift store! We like to use at least 25% vintage frames in gallery walls, and usually that means a few carved wood or gilt frames. These special frames found at thrift stores, antique malls and flea markets add so much character to a collection and instantly make the gallery wall feel collected and layered.

Next, arrange all your frame options by size leaning up against a wall, so you can pull from them easily. Start with your largest pieces and spread them out across the arrangement. Fill in with medium and then small pieces. Be thoughtful about mixing frame materials, styles and thicknesses. The more varied, the better! And remember, if you get stuck while working on the frame layout, don’t be scared to pull everything out of your taped-out mock up and just start fresh. That is the beauty of these floor practices, it’s easy to play and try a few different versions!
STEP 4: SELECT ART FOR YOUR FRAME ARRANGEMENT
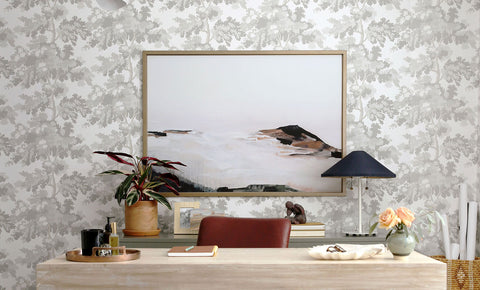
Once you have the frame layout you are happy with, it’s time to choose art for your frames! Like with all decorated projects, we suggest starting with what you love. Do you have a treasured vintage oil painting? Or a favorite print that reminds you of a special trip? Put those pieces at eye level, so you can enjoy them often and see them up close. Save the bottom and top rows for prints and paintings that help convey an overall mood, or help balance out the colors of your arrangement. We have a lot of great tips here on choosing the frame print & frame pairings, and choosing the right mat for your art. Adding a few custom mats will add SO much to your gallery wall!
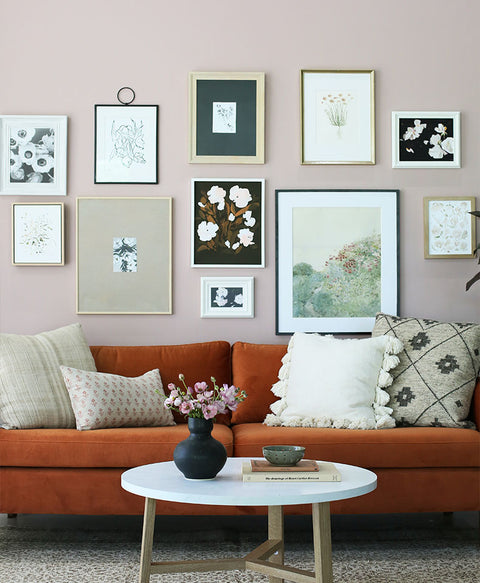
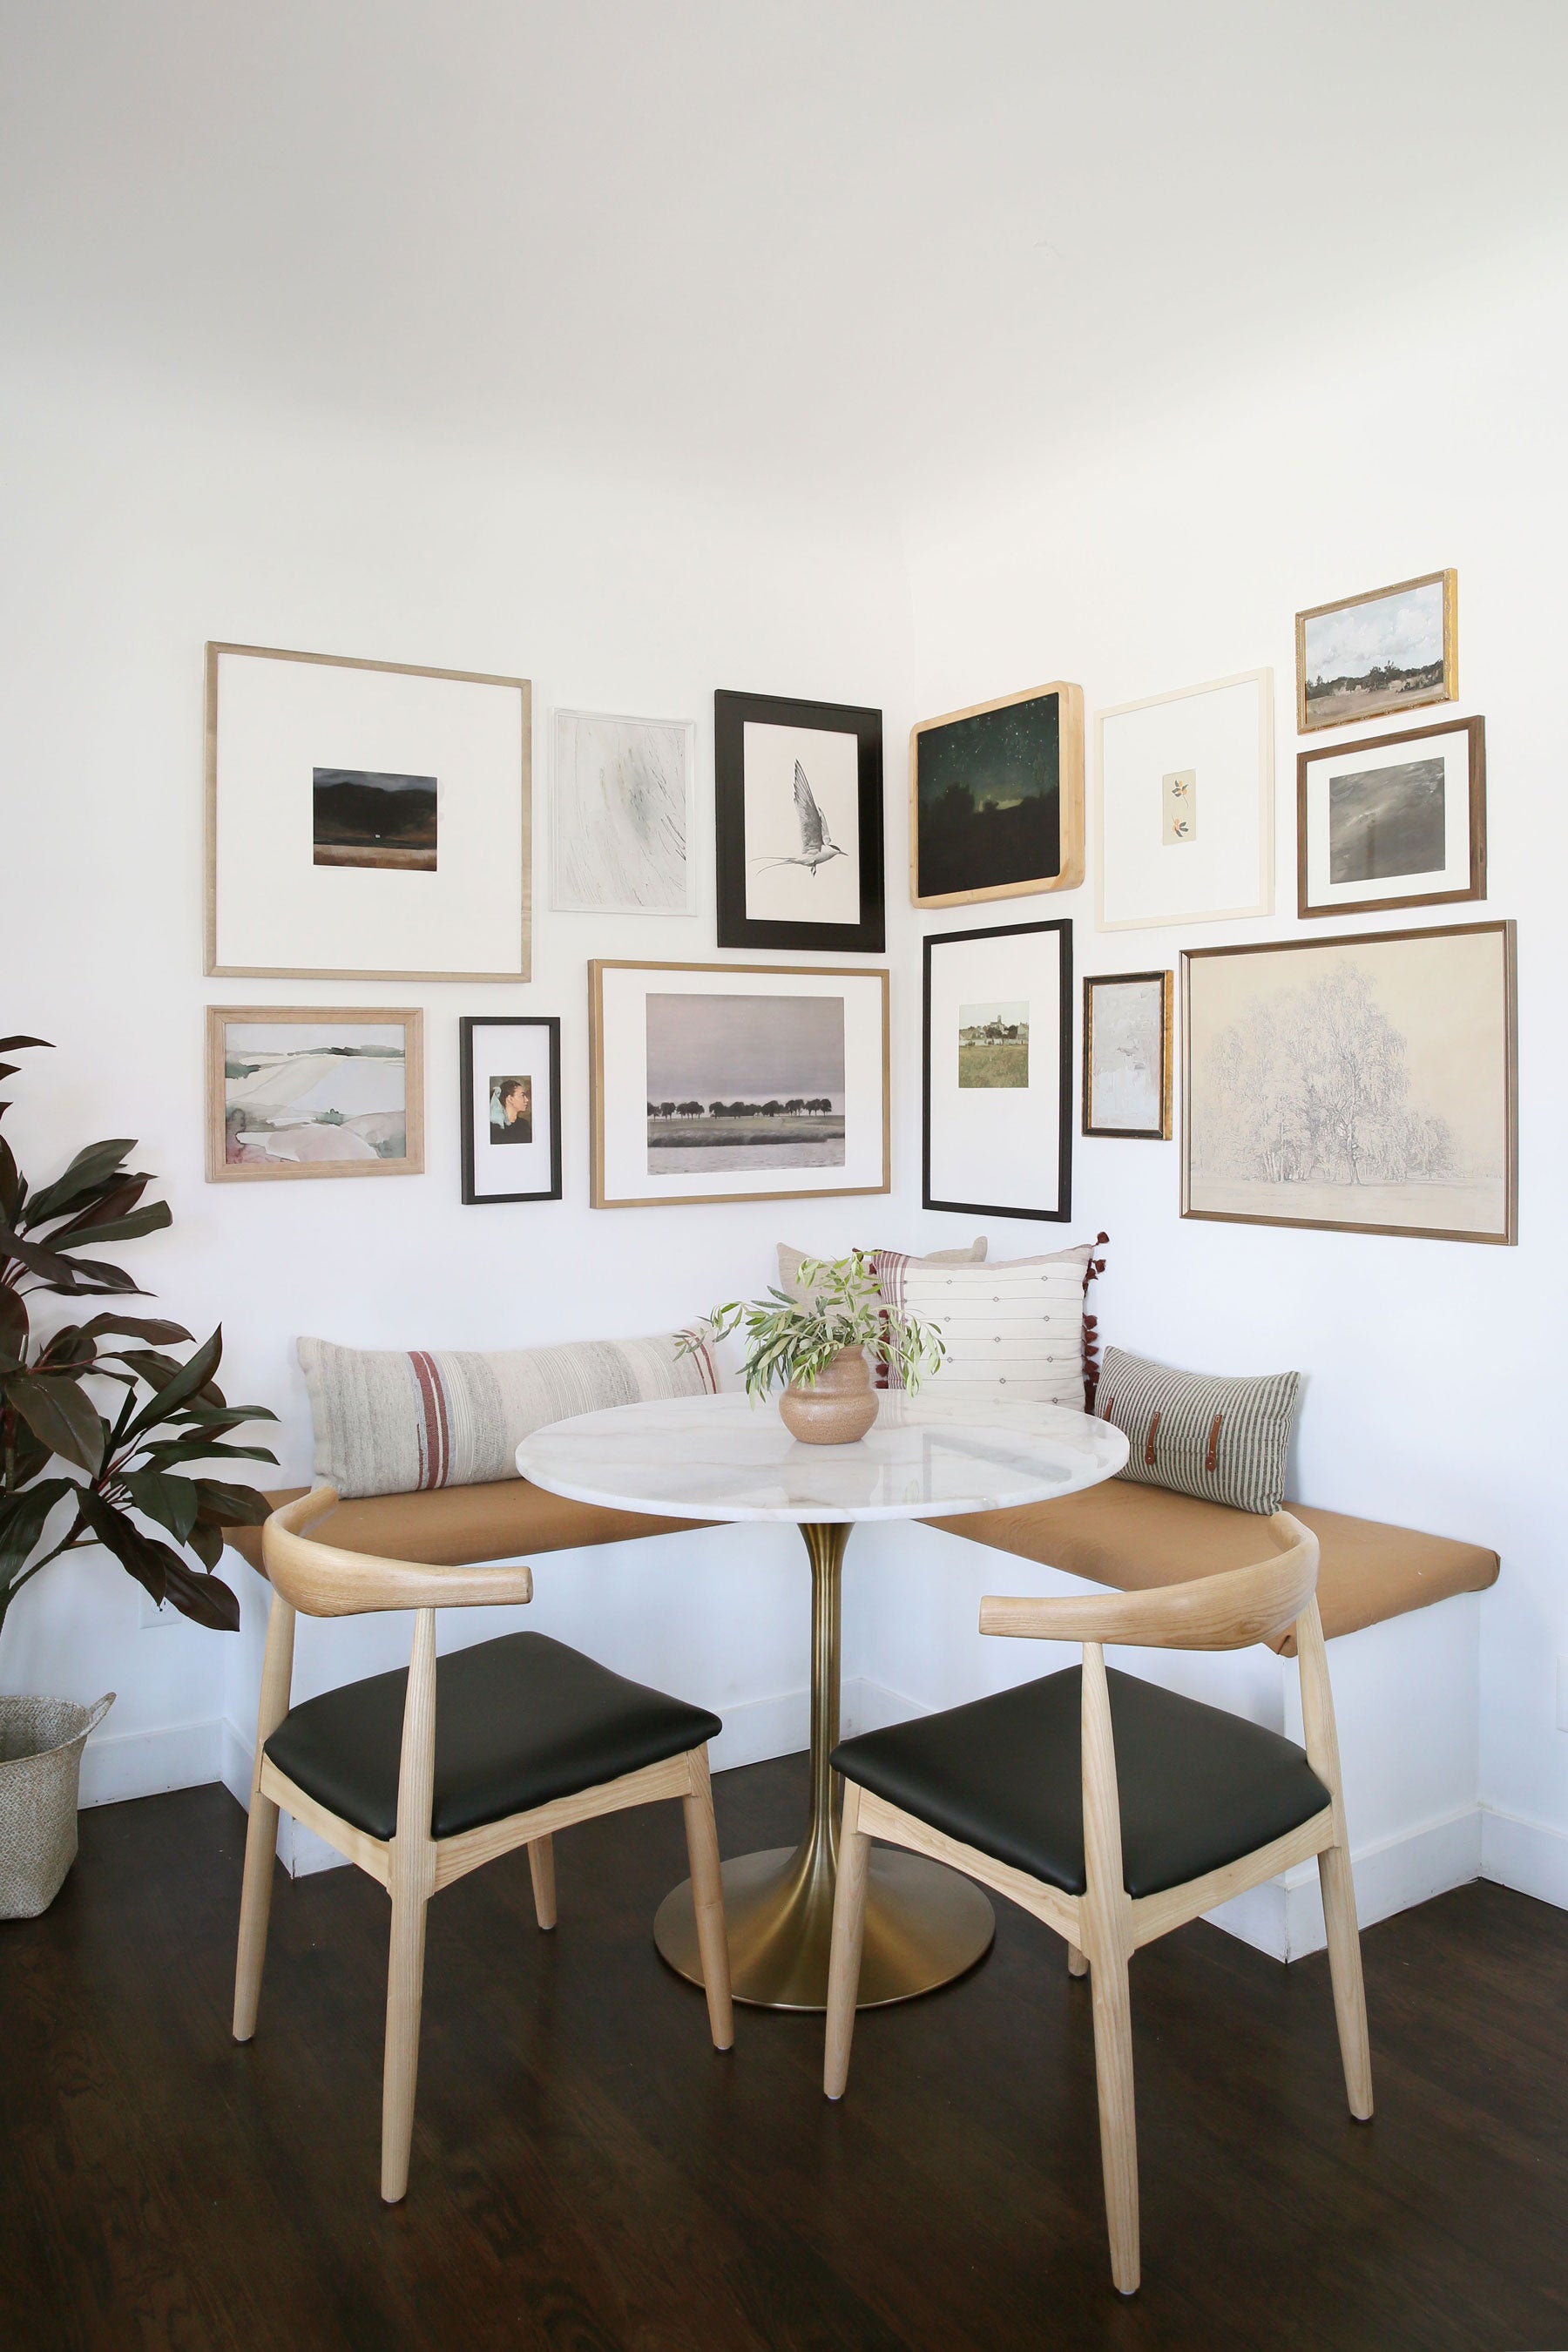
As you arrange your art, try to mix the medias. Put a traditional landscape next to a modern abstract, next to a travel photo. Hang a pressed flower arrangement next to a candid family snapshot. Throw in something unexpected that makes you smile, like an old silhouette portrait from Disneyland or a drawing your child made for you at preschool!

Be careful about using both enough black and not too much of it in one part of your arrangement. Remember that black is SUPER important in every space. It keeps the eye moving around – so spread it out evenly in your gallery wall art and frames!
If you are at all tech savvy, we recommend taking a photo of your frame arrangement and then using photoshop or powerpoint to digitally try on prints in your frames! It’s not totally necessary, but it does help take out a lot of the guesswork!
You can also use our Juniper Print Preview tool on your phone, to try out different arrangements of our prints digitally laid out on top of a photo of your actual space!
Check out this post for our best tips on framing prints!

STEP 5: HANG YOUR ARRANGEMENT!
Before hanging, while you’re assembling each frame with the new art, do a quick assessment of the frame condition (and if you’re using the glass in the frame, clean it well, front and back! It’s such a bummer to put a print and frame all the way together and then flip it over to see fingerprints or dust specs on the inside of the glass!)
We have another awesome resource here that talks ALL about hanging your art, and includes some of our favorite, must-have products for hanging.

We prefer to hang gallery walls starting at the top left and working down row by row, to the bottom right. Use a level to make sure that first frame is hung straight and then you can generally hang the rest of your art off that piece as the anchor. This is where your planning on the floor comes in handy. You’ll be able to hang a frame and know that the frame next to it is hung exactly X” to the right and Y” lower. No guessing and hoping that it looks good in the end! And no extra holes in the wall (or at least a LOT less of them!).
Don’t forget to share your gallery wall creation on social media using the hashtag #MyJuniper!
