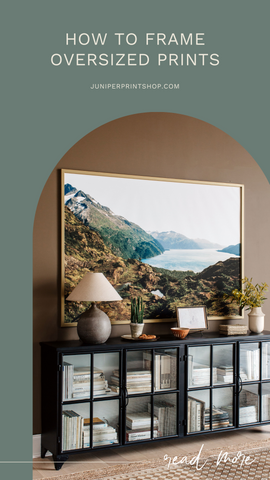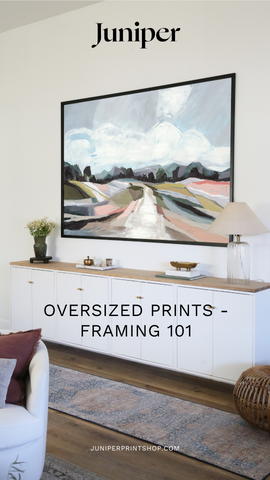


How to Frame Oversized Art
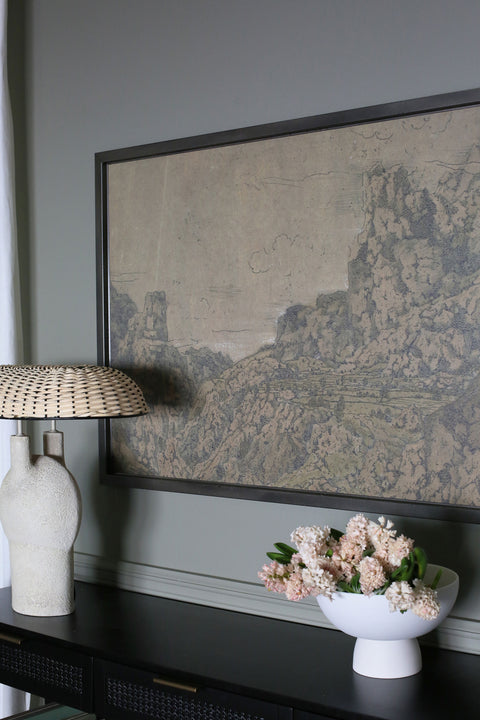
Oversized art can be very expensive, especially when it includes a nice frame. One of our favorite ways to save money on statement art is by using the IKEA Bjorksta frame. The frame is super affordable and comes in four different sizes: 22x55, 31x47, 40x55, and 55x79. While it’s only available in a few colors, you can customize your frame by painting it with our tutorial here. This frame works great with either our Juniper paper or canvas prints.
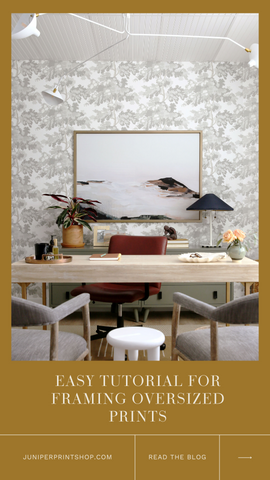
Once you have your print and a frame, It’s time to get started. It can feel a little daunting to do it yourself. But don’t worry! We have a very simple tutorial on our Instagram that will walk you through it step by step. We’ll also include instructions down below on how to frame your oversized art. It should only take you 10-15 minutes to install!
How to Frame Oversized Art
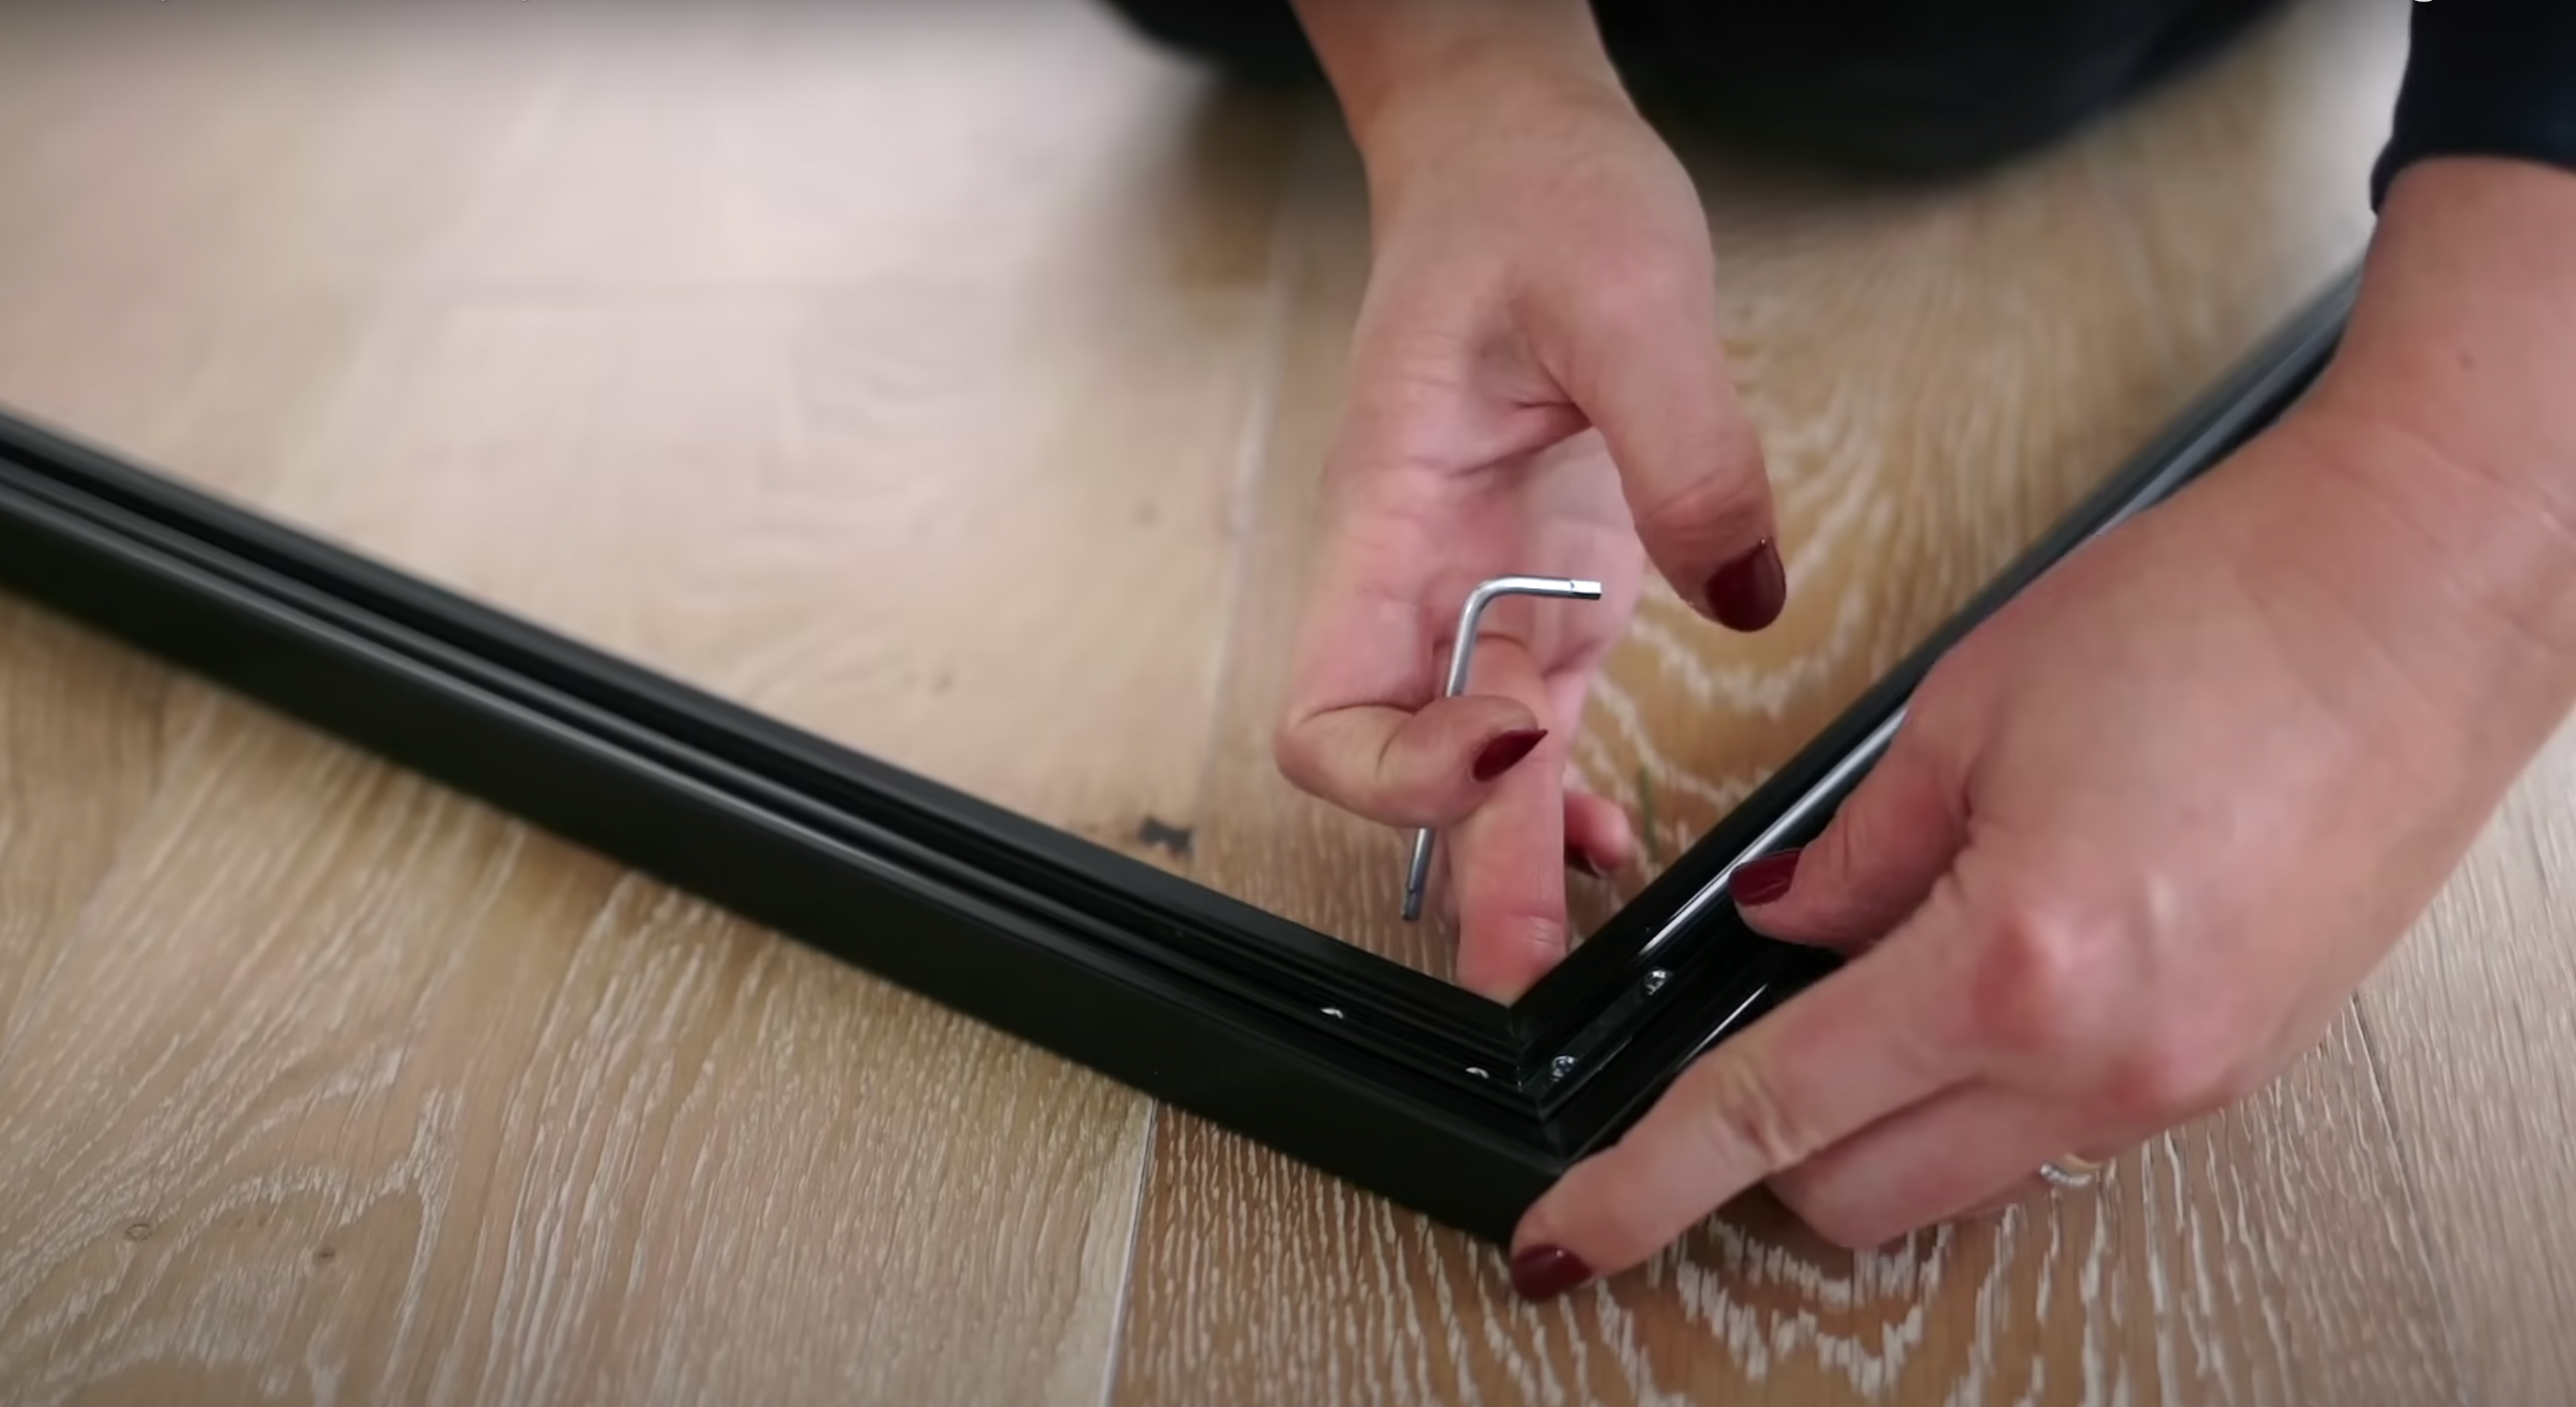
Step 1. Assemble your frame

Lay the frame face down on a large, flat surface. You can also lay a blanket or sheet down under the frame to prevent scratches. For the IKEA frame, slide the metal L-shaped brace into the lower channel on each of the corners. There are small screws designed to work with the provided Allen wrench. On the first pass, you’ll tighten the screws just enough to stabilize the frame. Then you can make sure that the corner’s edges line up perfectly. Next, tighten each of the screws completely. Now that your frame is assembled, it’s time to add the artwork.
Step 2. Add the canvas or paper print
You may want to ask a friend to help with this part. Lay the print facedown, lining up the edges. There should be about ¼ “ overhang on each side. Some of our larger canvas prints come with a 1” white border that can be trimmed with scissors.
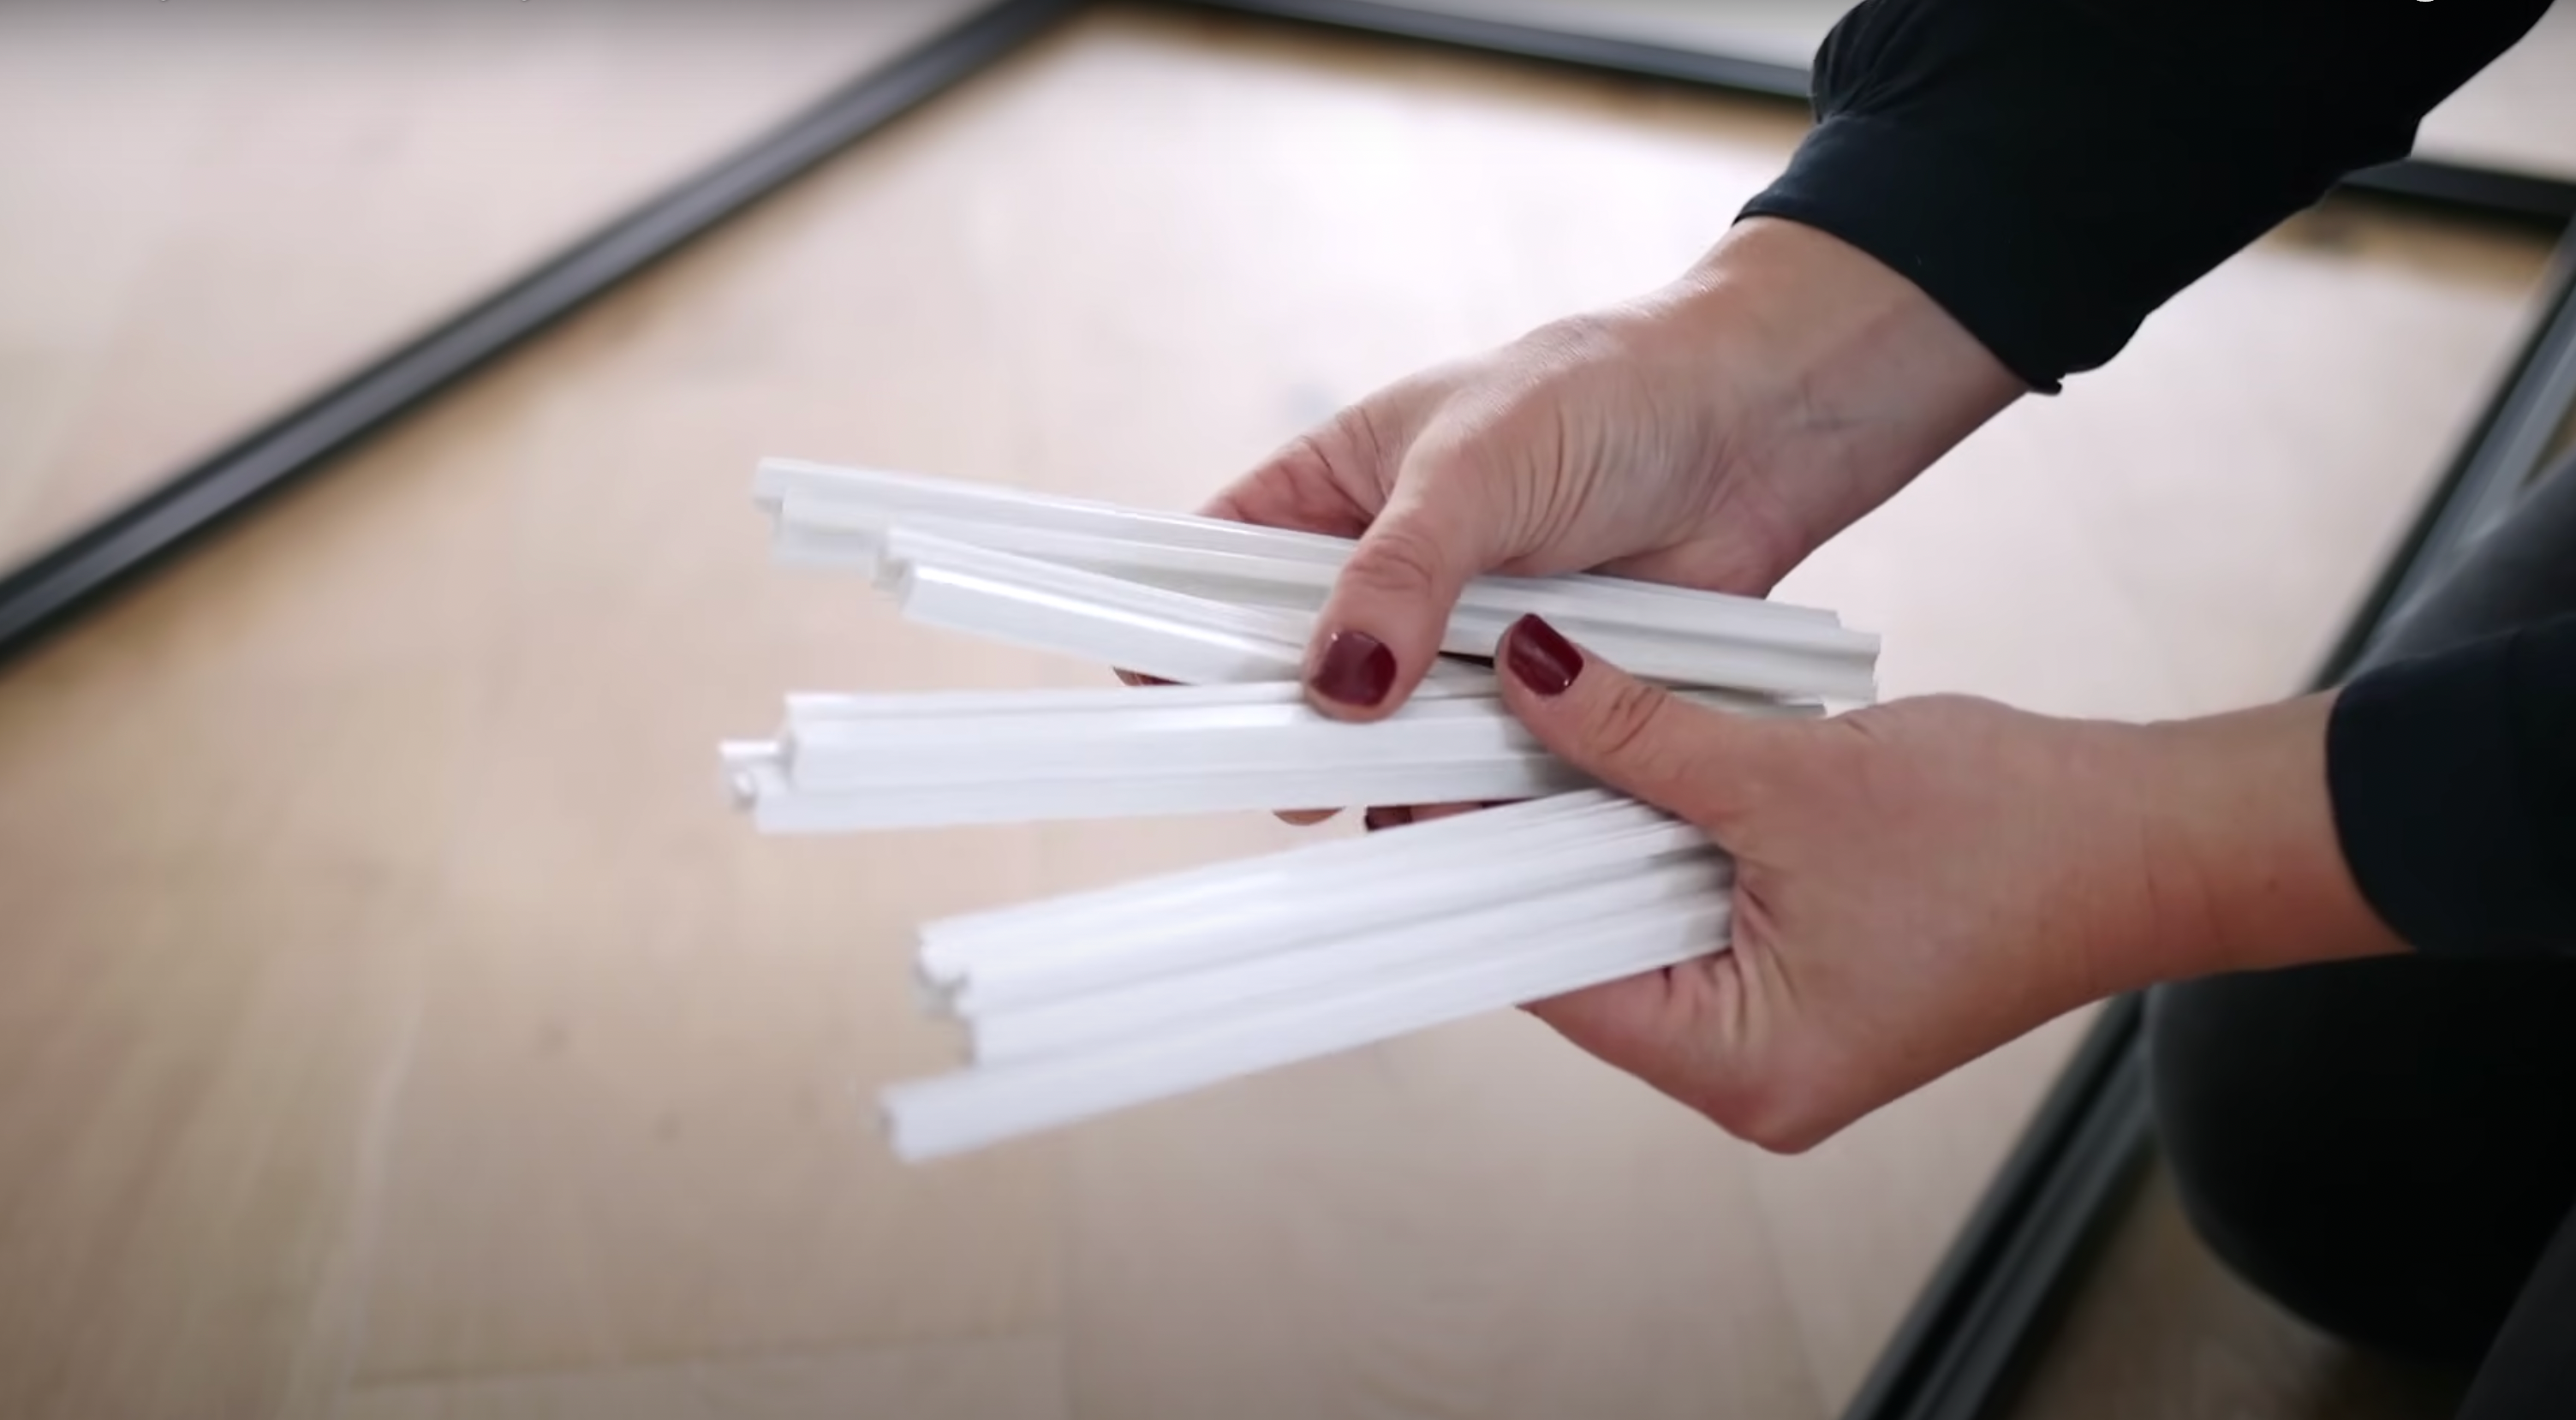
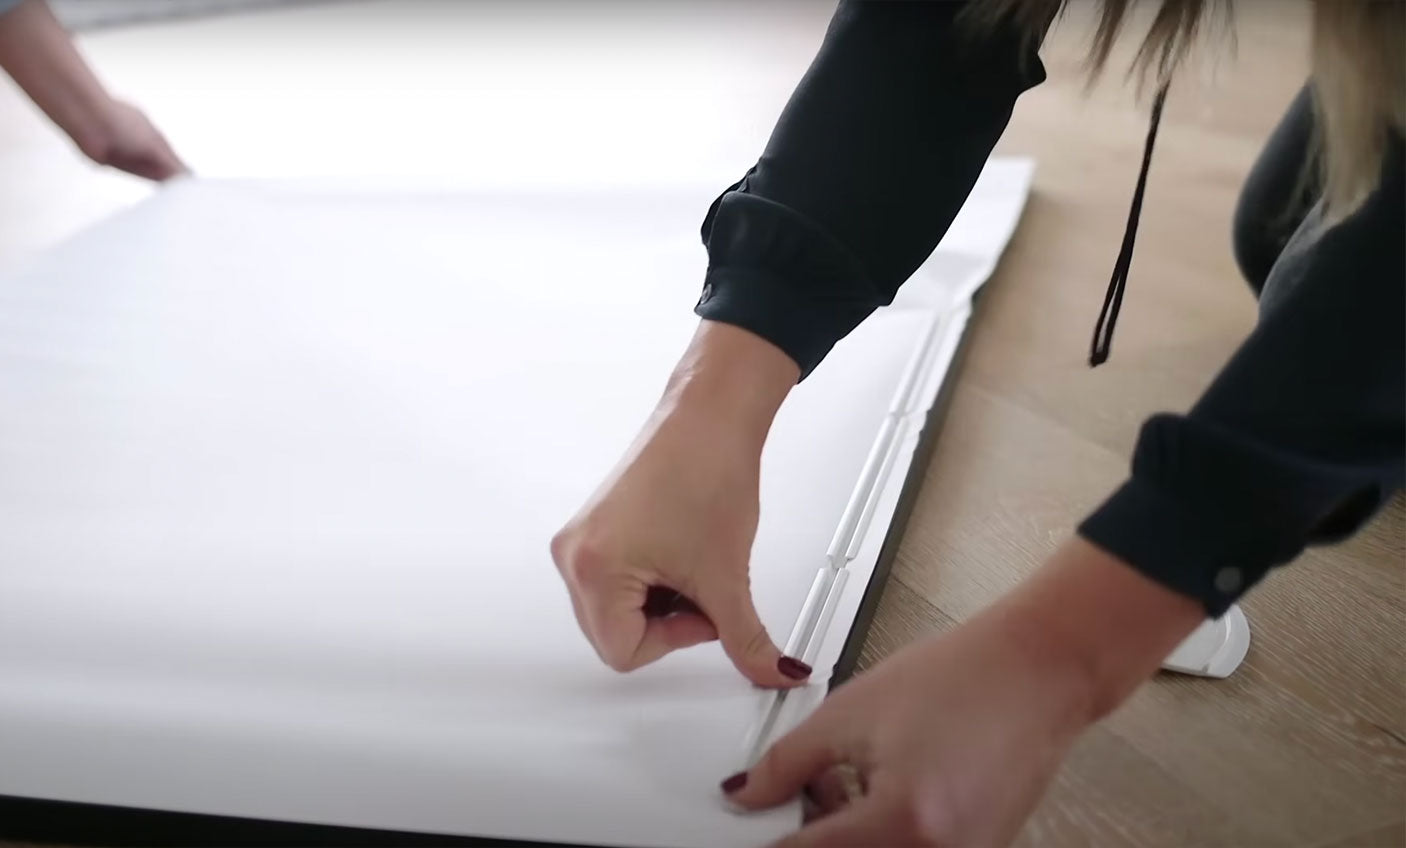
Step 3. Attach the print to the frame
IKEA provides little plastic clips that fit inside the channel of the metal frame. Start on one long side and then move over to the other long side. Add the clips every couple of inches to hold the oversized print in place. If you’re using canvas, it is going to look wrinkly, but keep going. Pull the canvas tight as you add the clips. When you start installing the clips on the shorter side, it will begin to smooth out. You can readjust and pull the canvas out to straighten it along the way. If you have any print leftover, you can roll or tuck it into the channel
Step 4. Flip it over and see how it looks!
Admire your handiwork and think about how much money you saved doing it yourself! If something doesn’t look quite right, you can flip it back over and start again. Keep going until it looks straight and there aren’t any wrinkles in the canvas or paper.
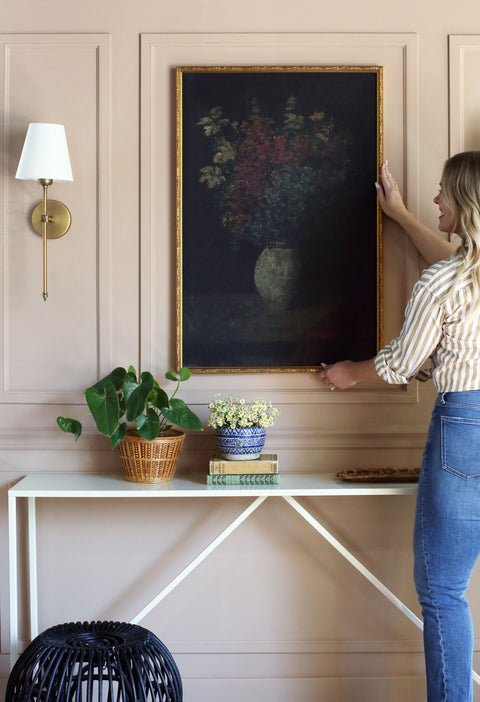
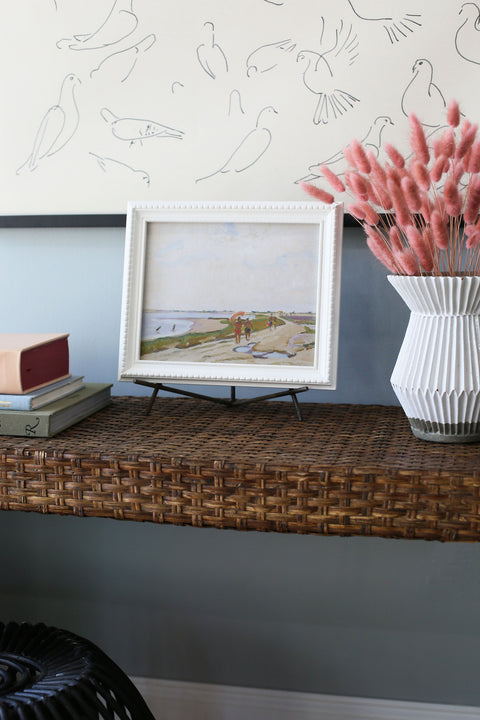
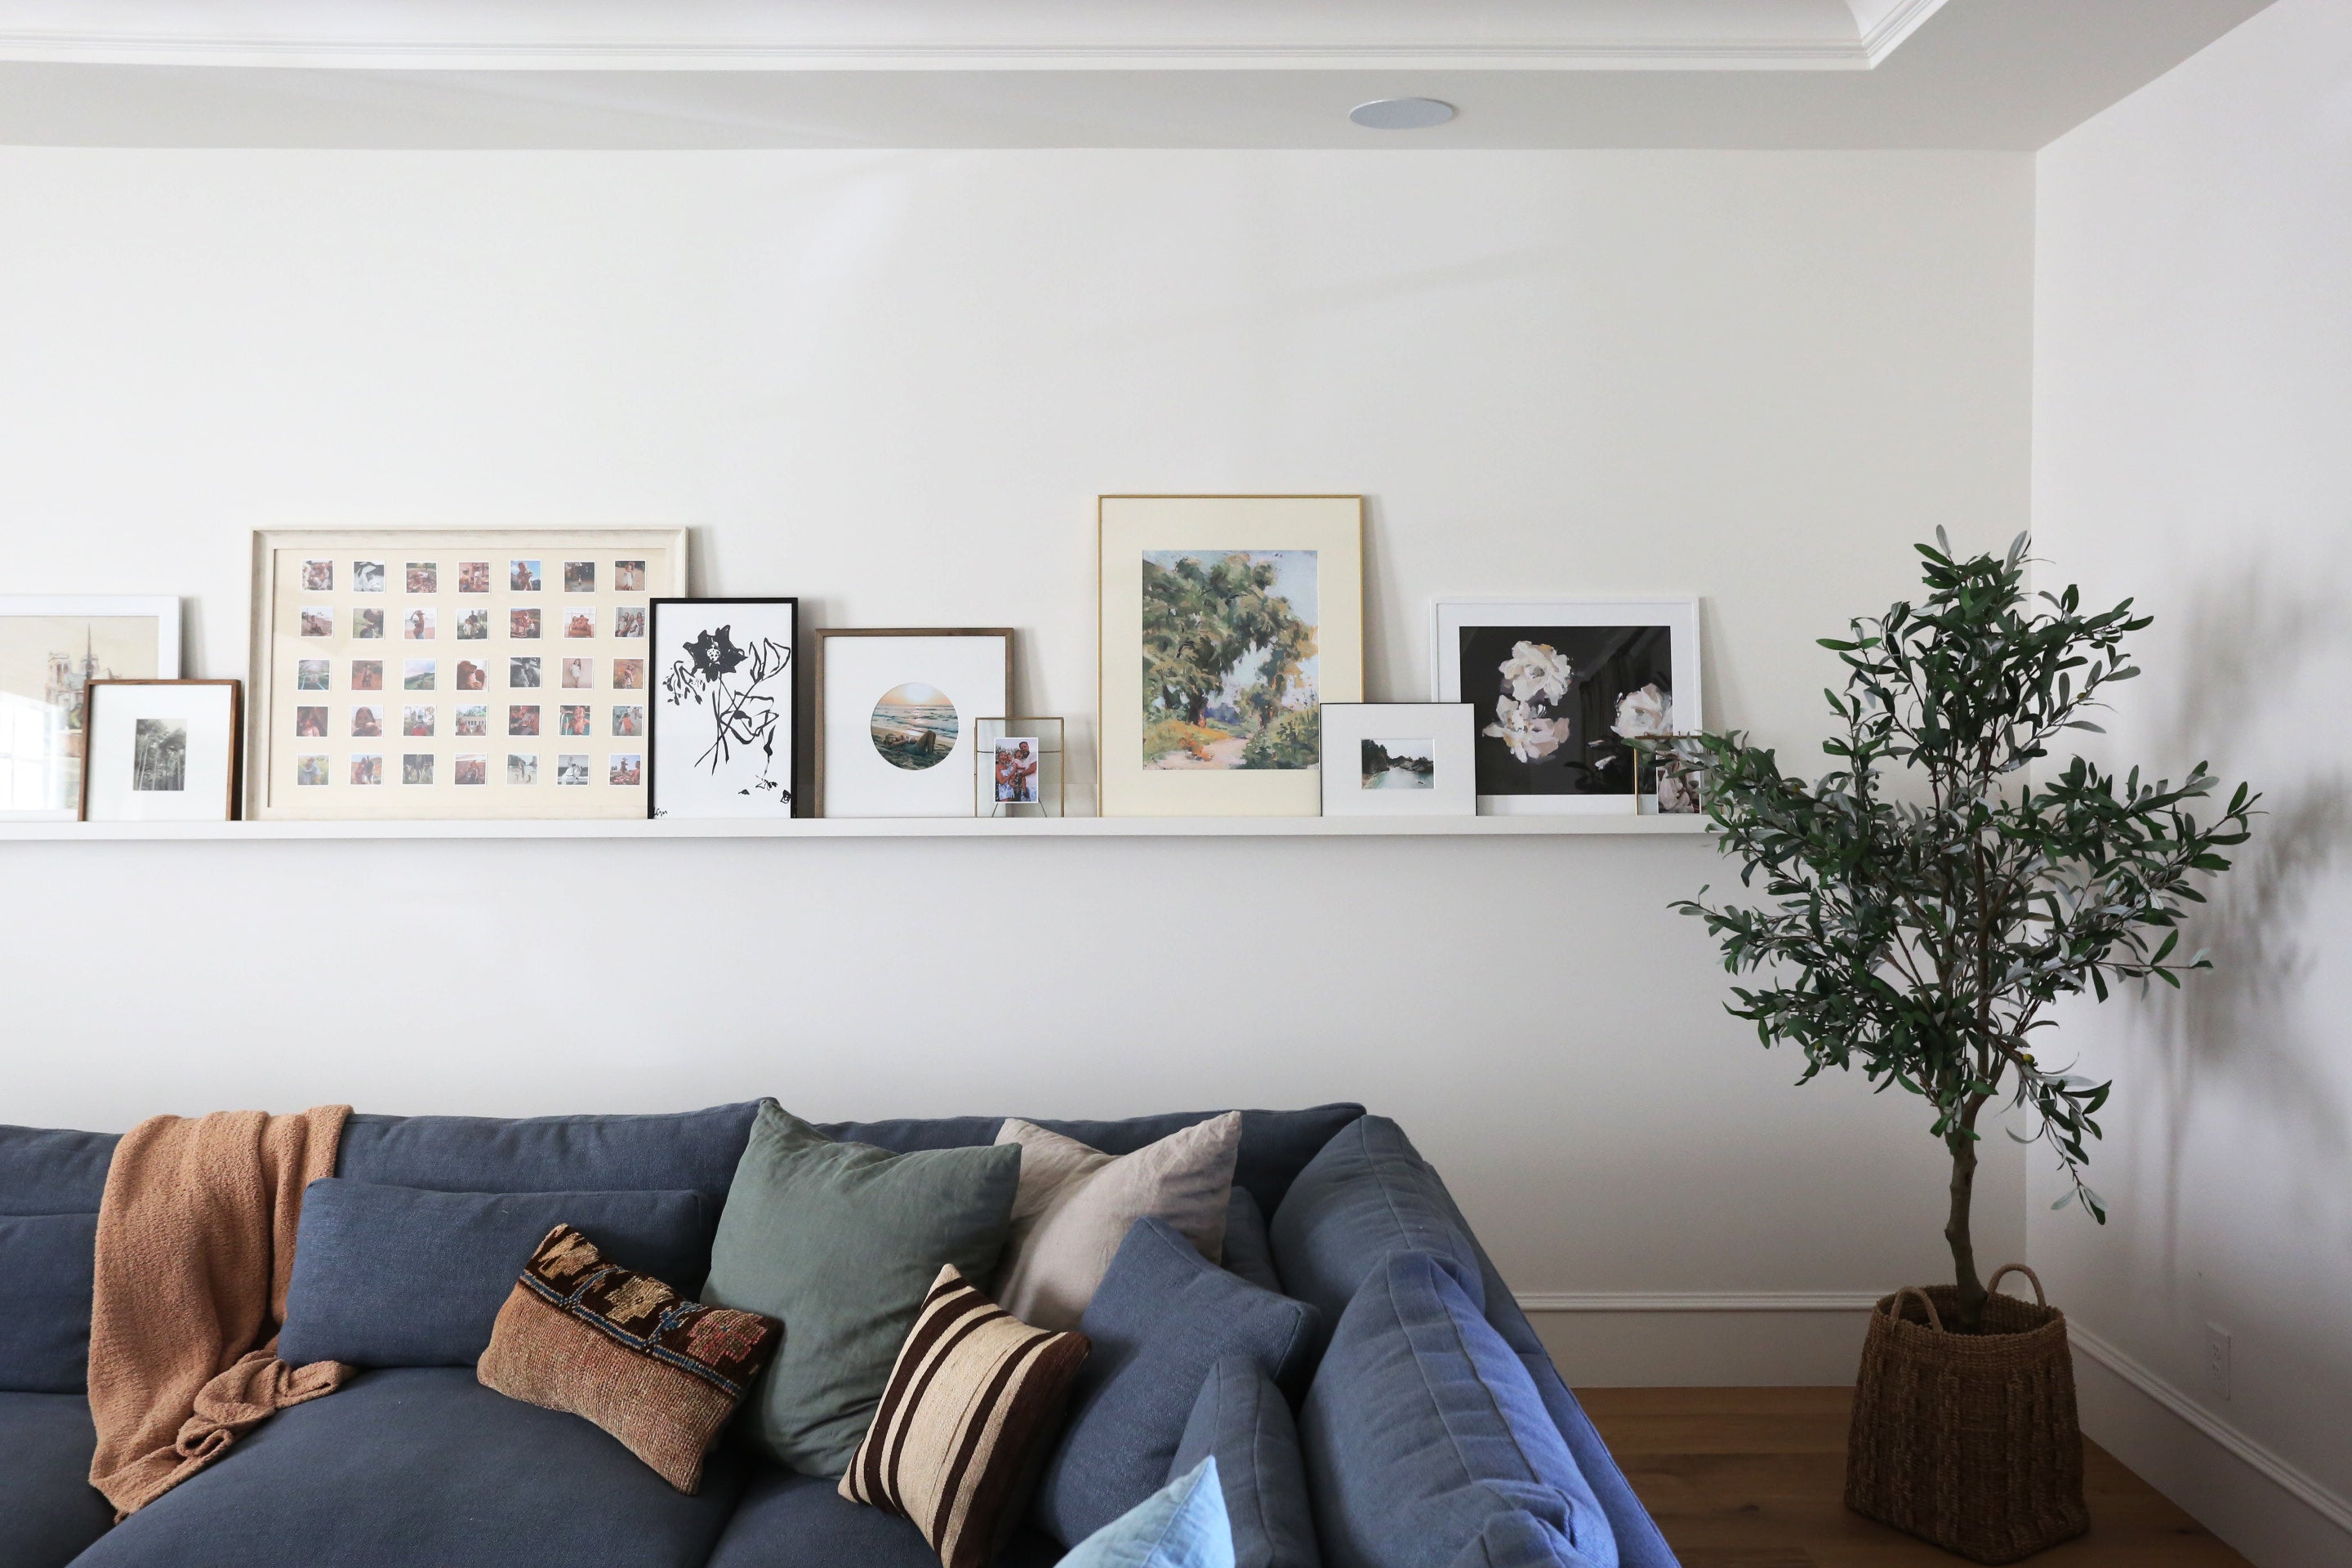
Step 5. Hang your print
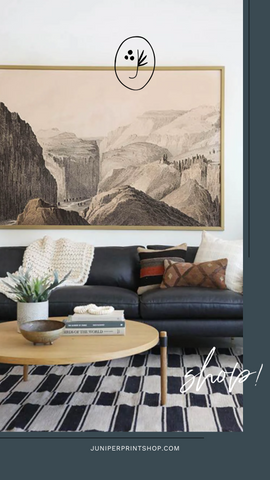
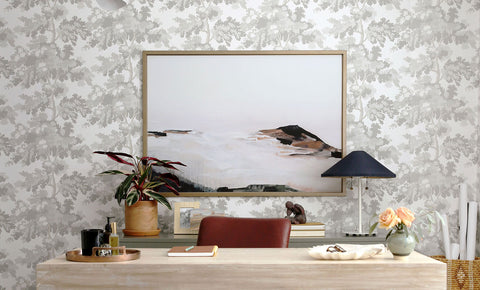
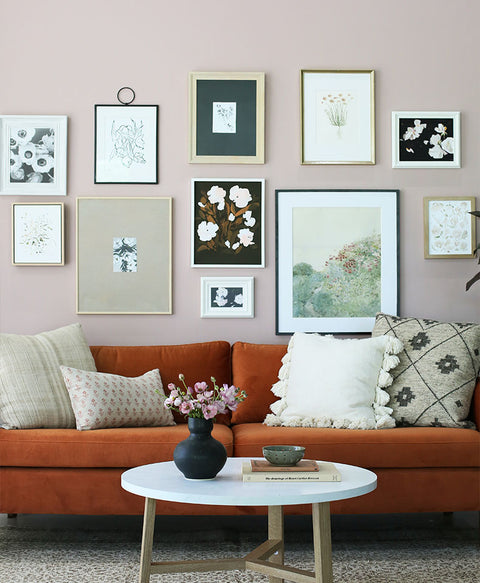
Now that your print is framed, it’s time to decide where to hang it! You can add it to a gallery wall, art ledge, or pair it with another print for a group of two or three. Find more ideas here:
How to Arrange Picture Frames on a Wall
Tips and Tricks for Hanging Art
On mobile, you can use our Print Preview tool to help you picture a piece of art in your room. You can also use butcher paper or painter’s tape to give you an idea of how much space the print will take up on the wall.
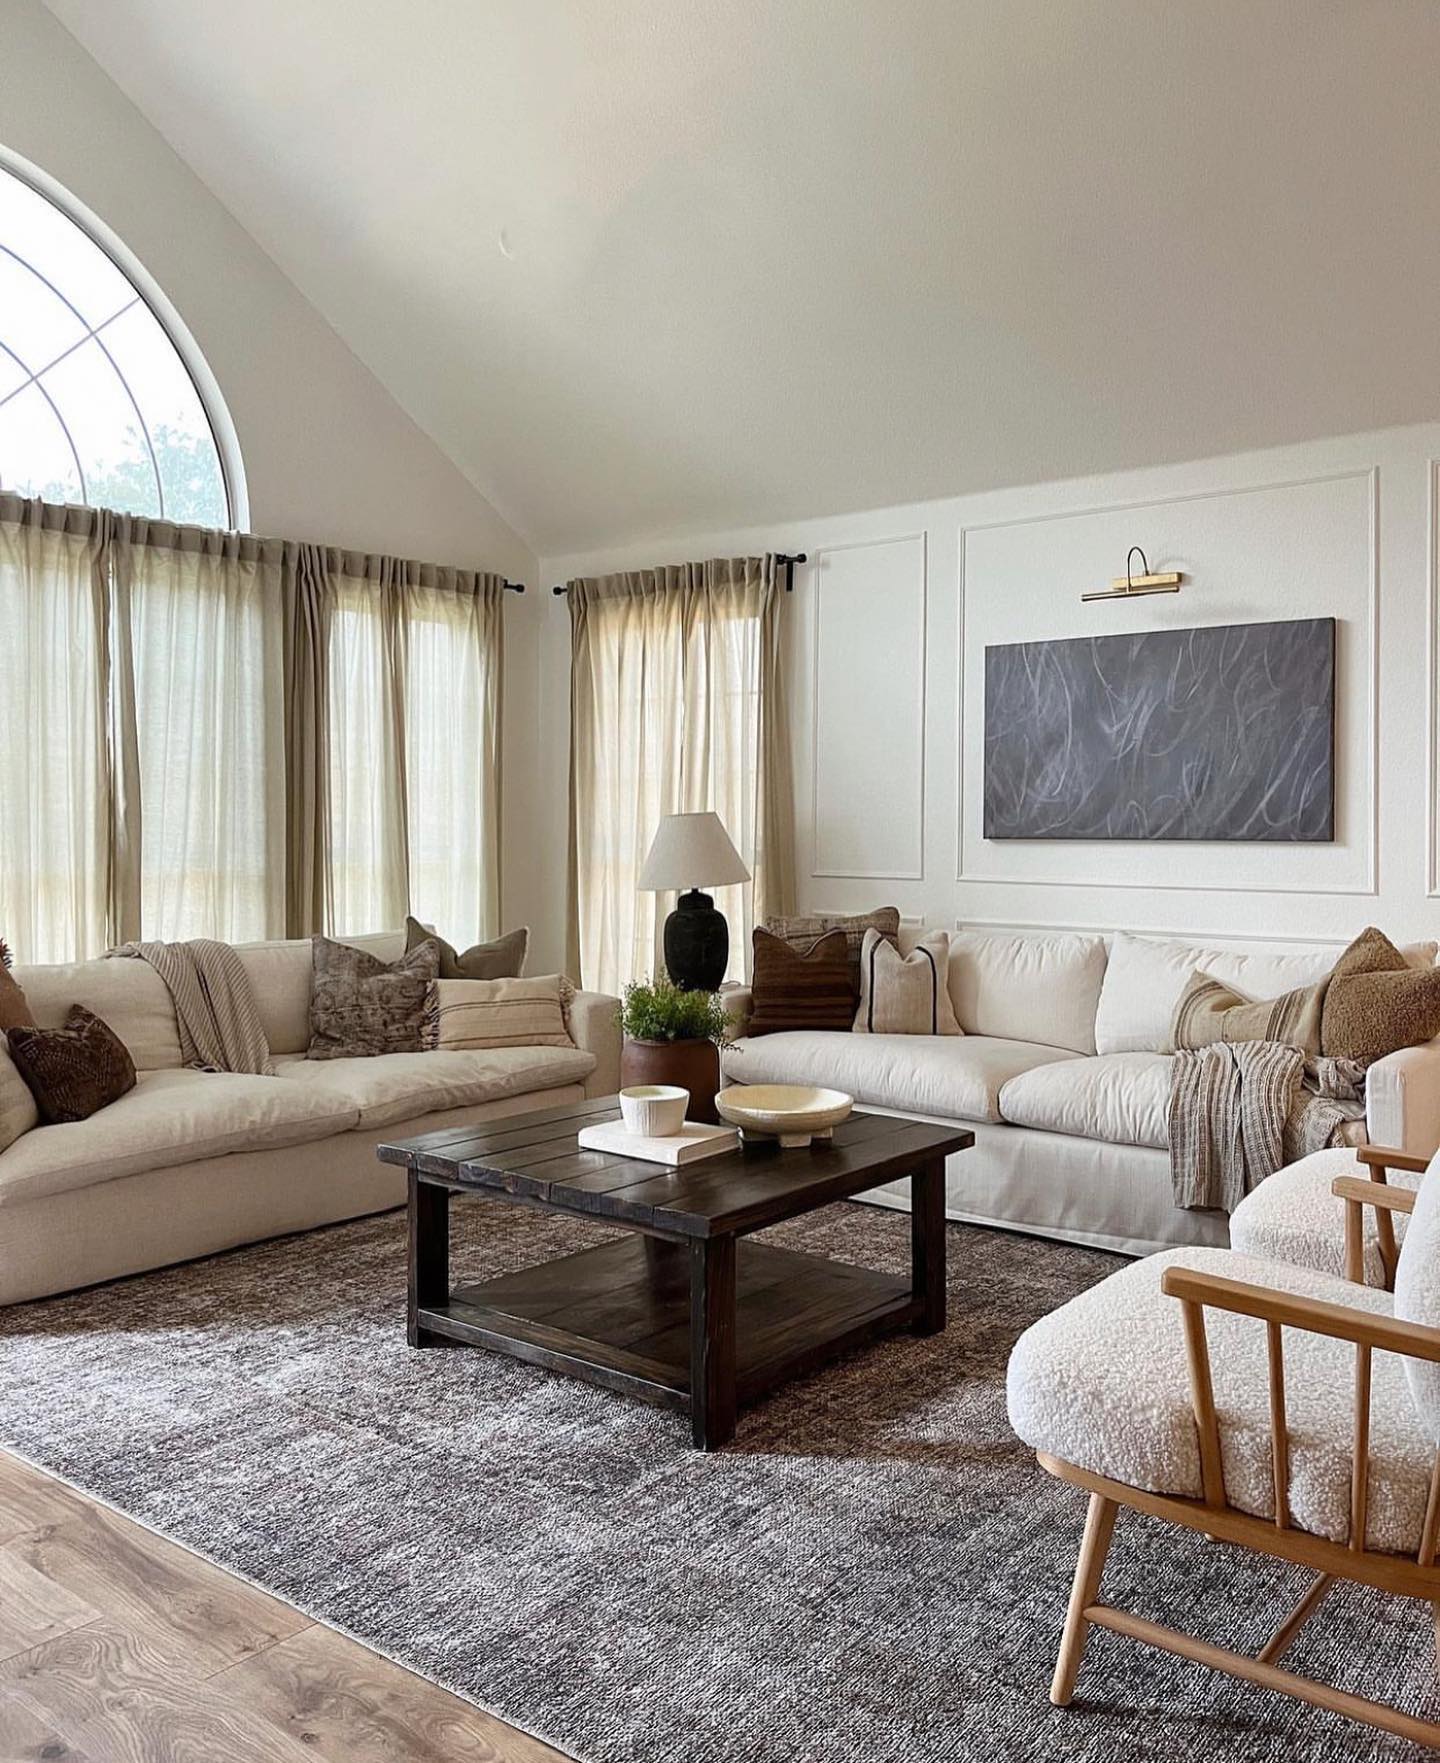
Bonus tip: Don’t forget the lighting! You want to make sure your artwork is in the spotlight and has adequate lighting, especially if your room doesn’t have a lot of natural light. Consider adding a picture light or sconces surrounding your artwork for a finished look. Find inspiration and tips below:
Decorative Lighting Ideas to Display Your Artwork
Framing oversized art doesn’t have to be super time consuming or cost a fortune. It’s something simple you can do at home in under 30 minutes!
For more design inspiration and styling ideas, find us on Instagram and TikTok. We love seeing how you style our prints in your space! Tag us @juniperprintshop on Instagram and use #myjuniper for a chance to be featured!